Exercise: Create and Publish
Overview
In this exercise, we’ll walkthrough creating a Quarto-based website and publishing it on Quarto Pub!
We’ll focus on using the quarto-webr extension. However, you can substitute quarto-webr with quarto-pyodide if you prefer working with Python.
Step-by-step
Open RStudio on your computer.
Create a new project in RStudio
- In the upper right corner, select Project: (None)
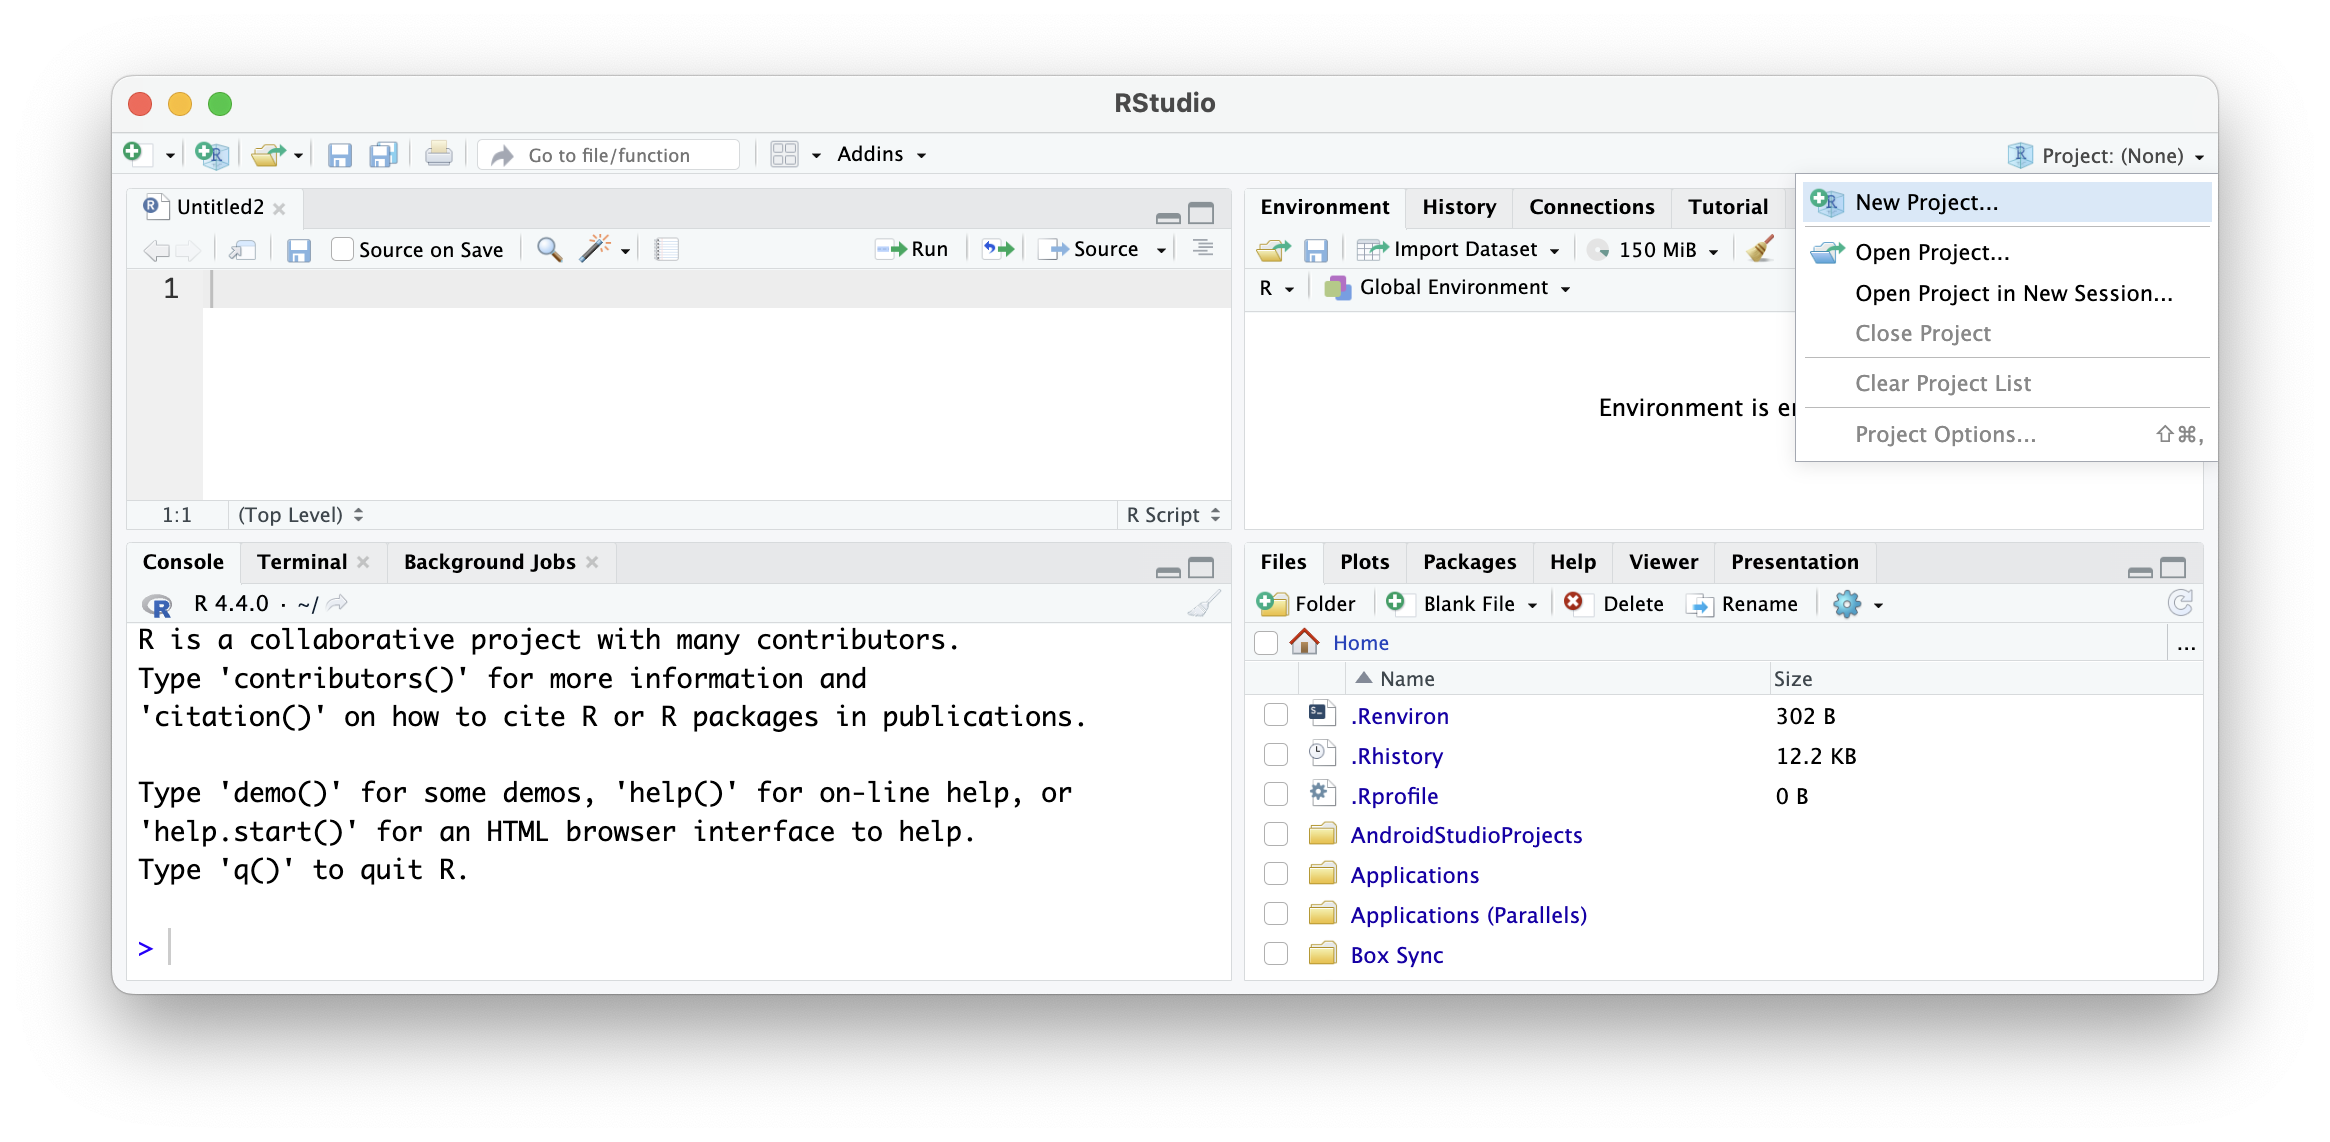
- Click New Directory
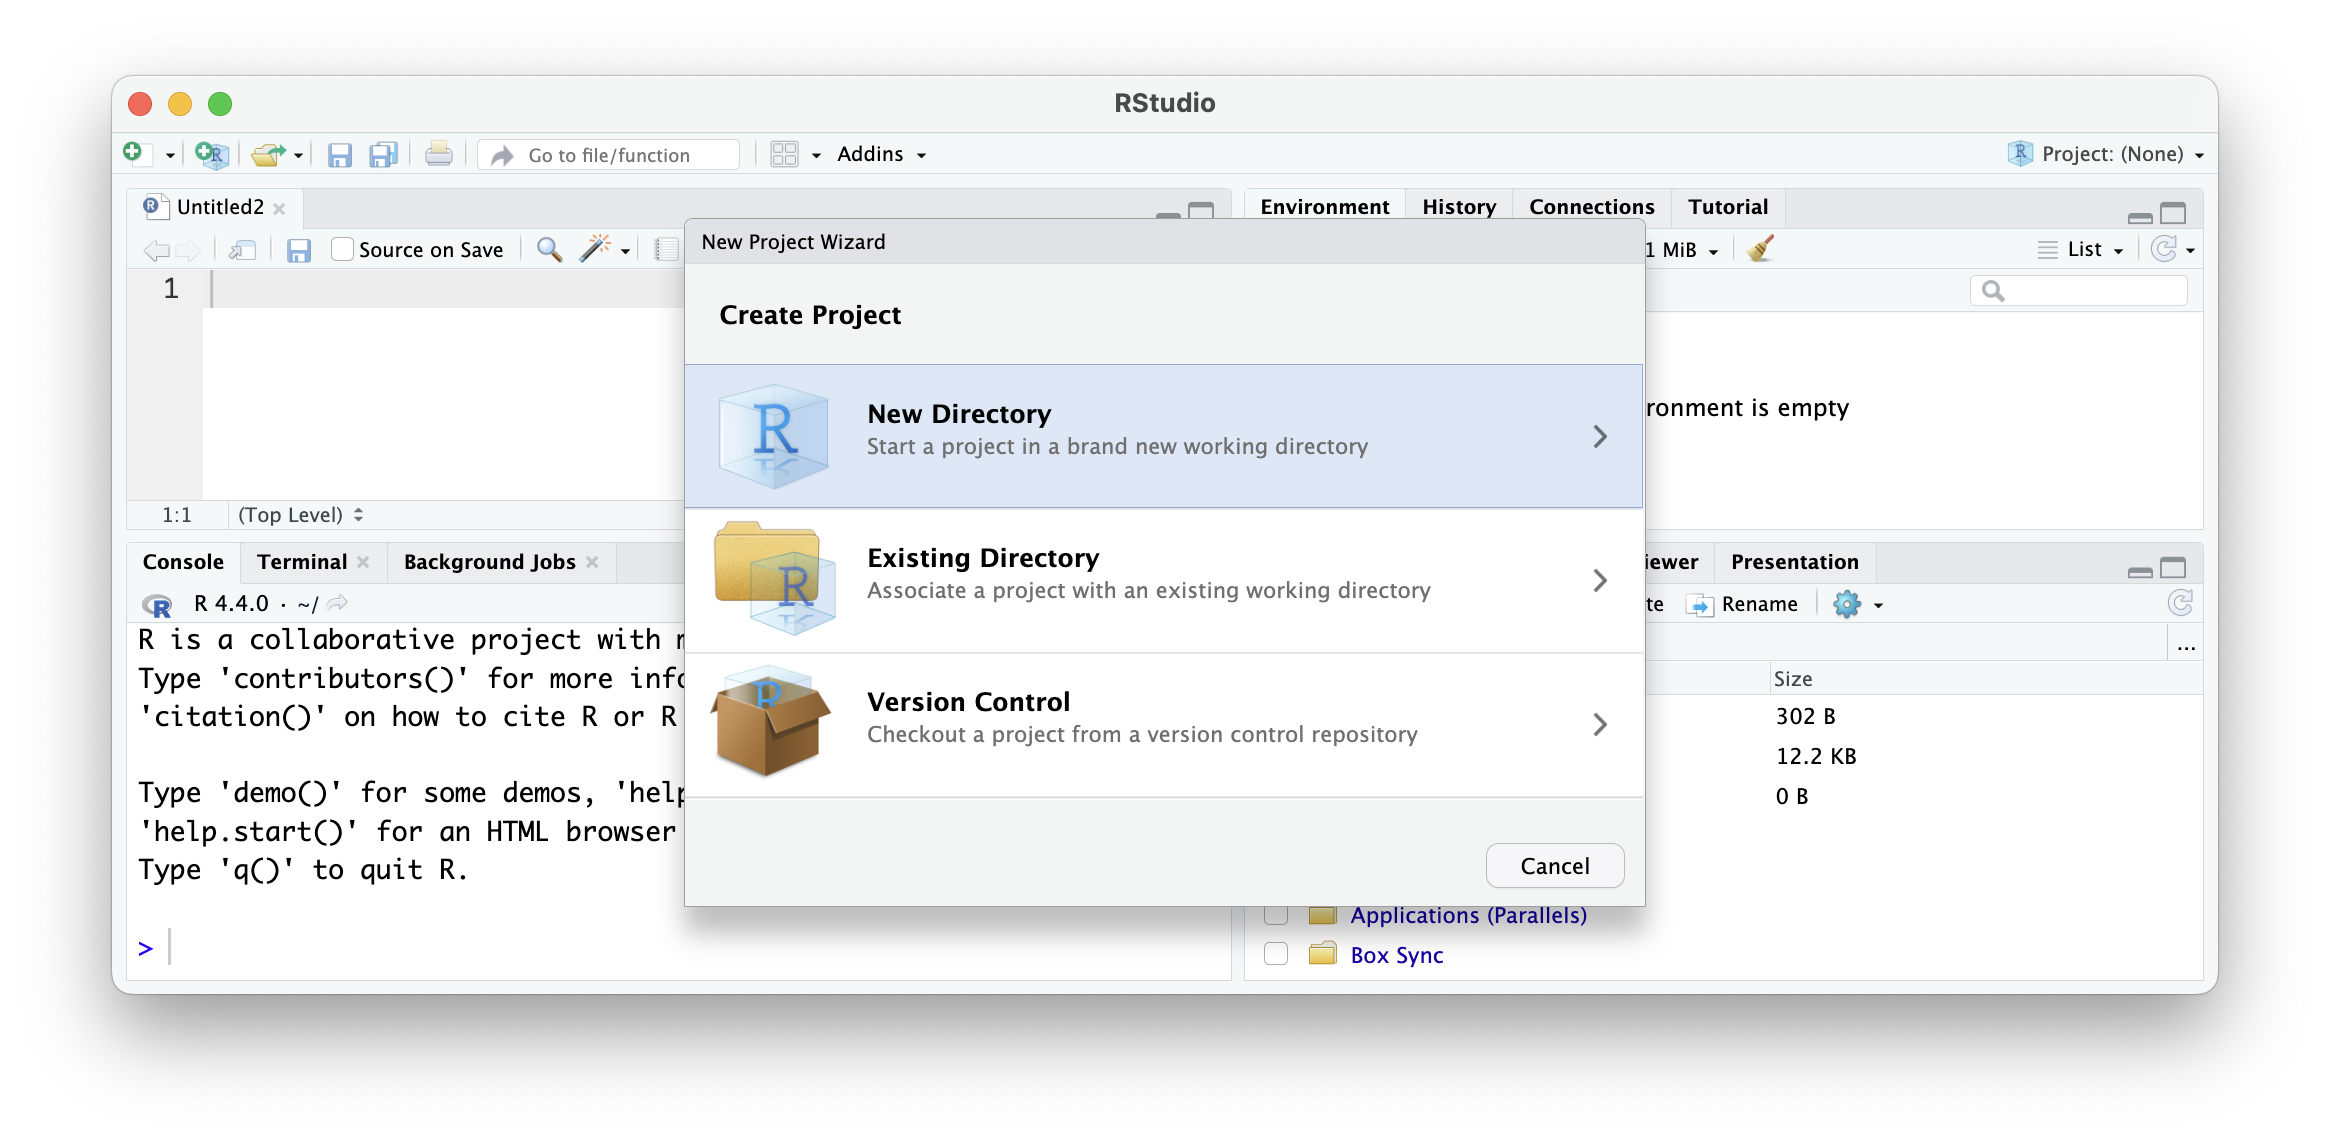
- Click Quarto Project
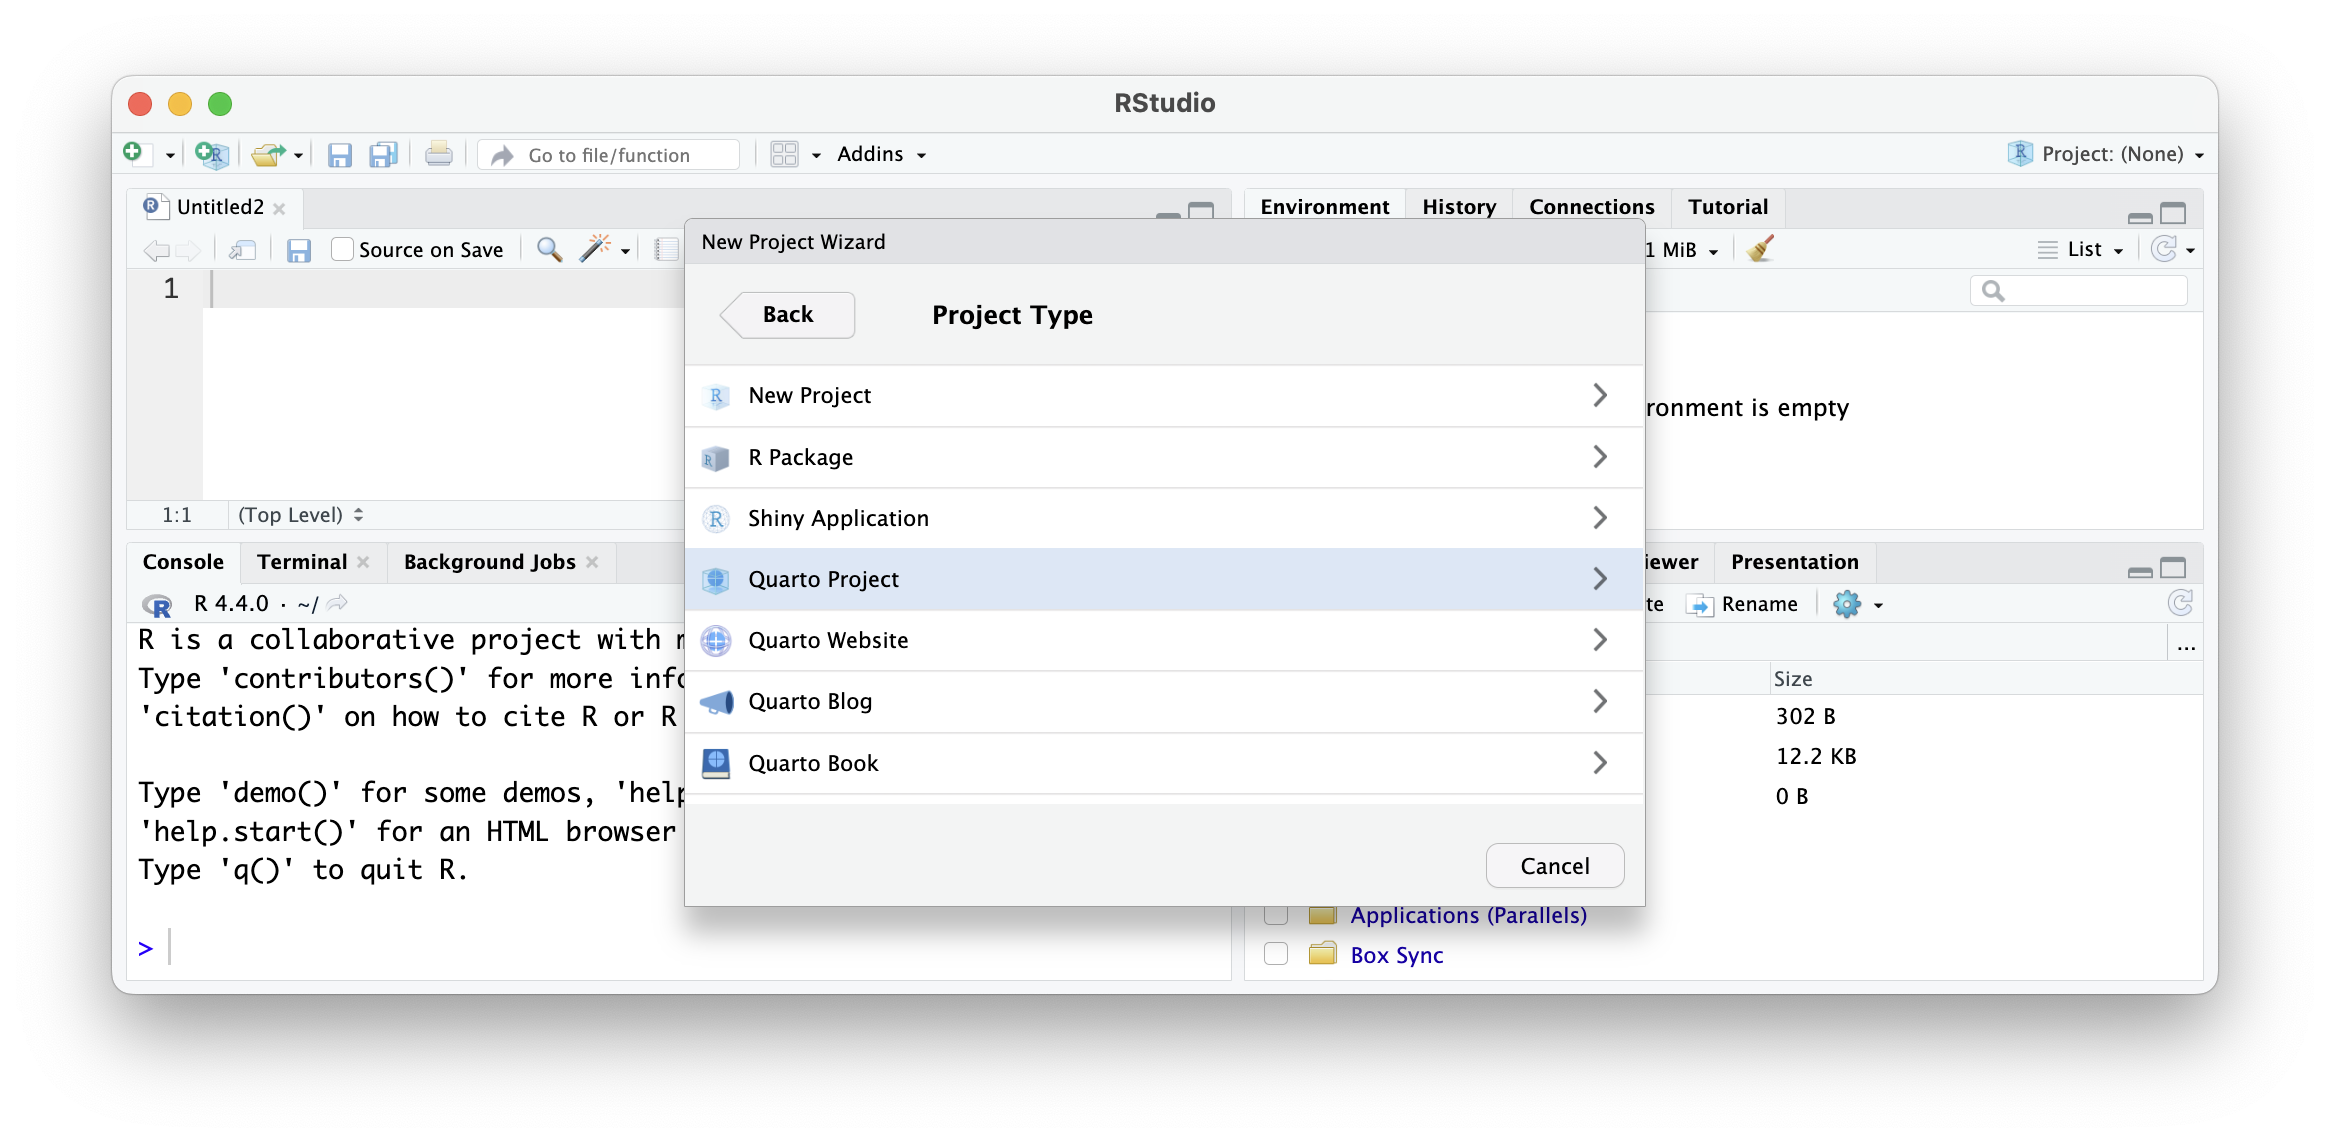
- Fill in the Directory Name as
my-quarto-webr-project: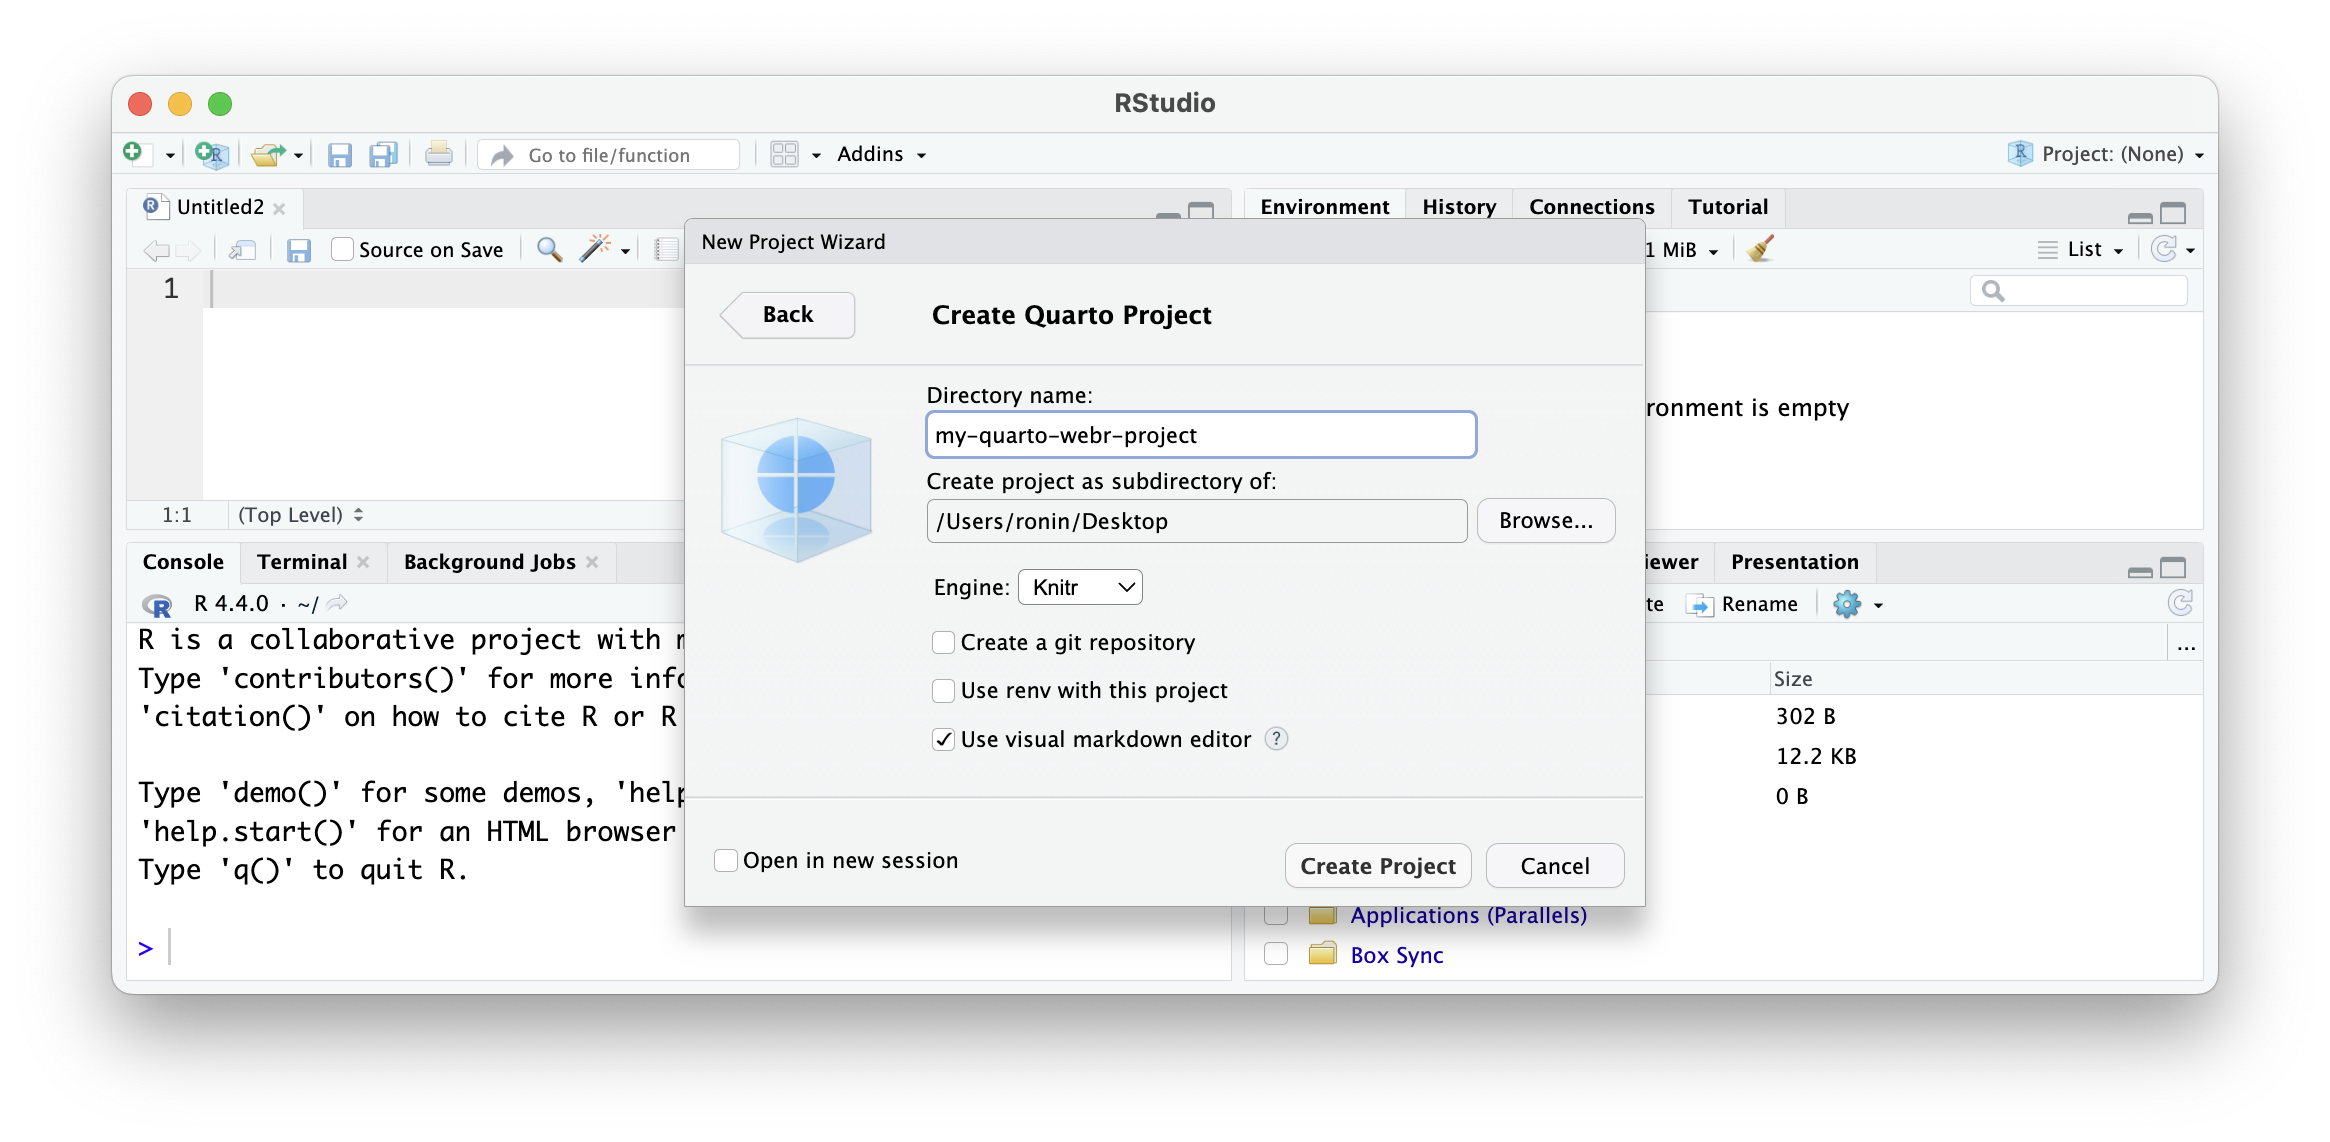
- Optional selections:
- Consider selecting Open in new session to avoid losing your current RStudio session.
- If you are familiar with version control, select the Create a .git repository option to version the document.
- Optional selections:
- When completed, you should see a new RStudio window with the project name displayed in the upper right-hand corner.
If you are not in a new RStudio project, please let us know as the remaining steps assume this to be the case.
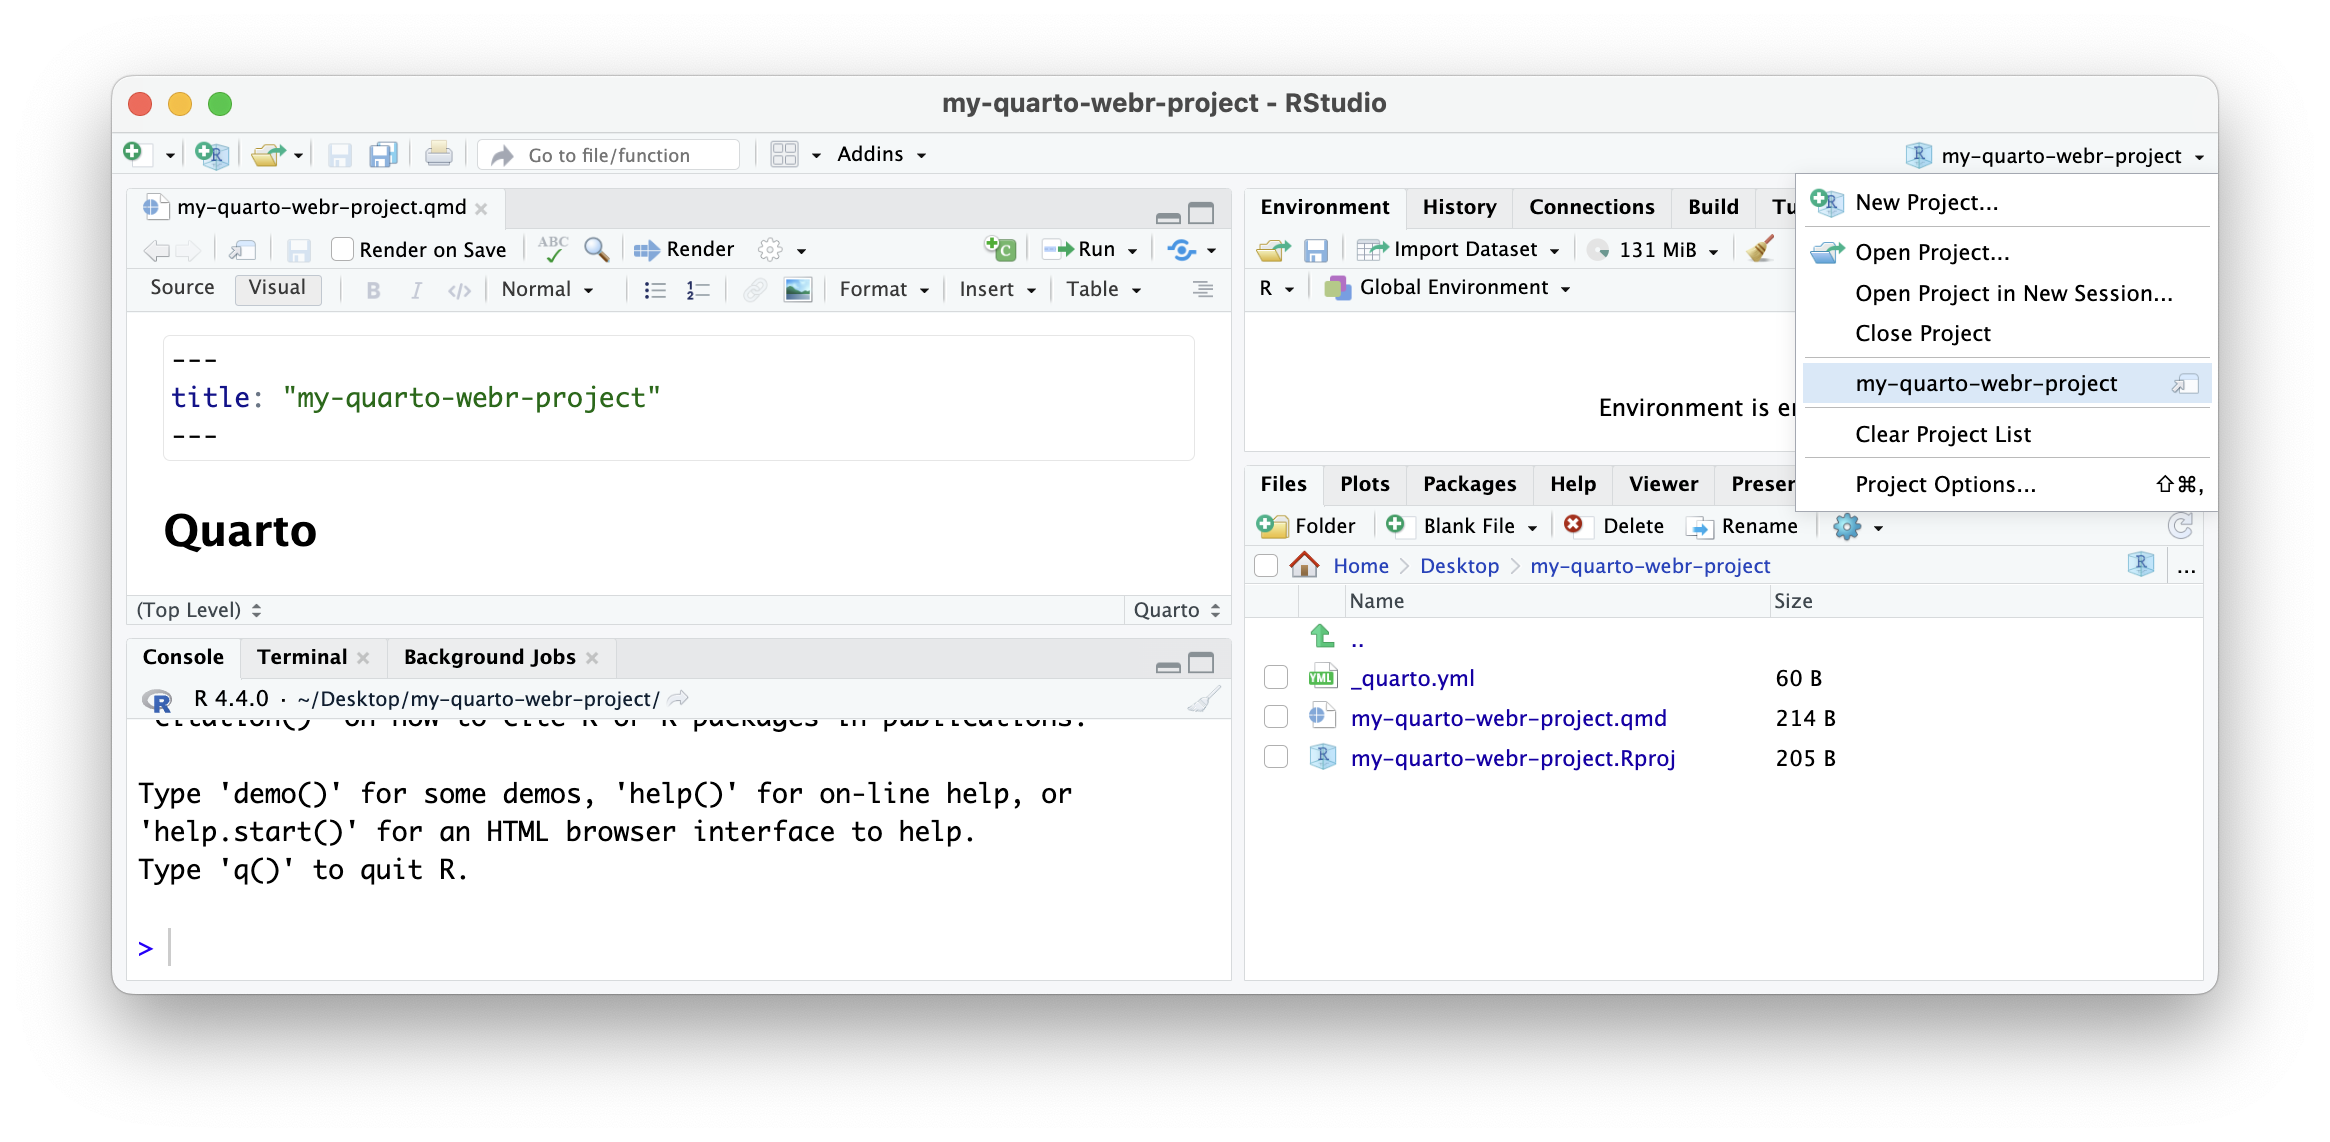
At any time, you can return to this project by going to the upper right corner of RStudio to change between projects.
This has the advantage of not needing to worry about pathing between files.
- Download and install the {quarto-webr} Quarto extension
Quarto extensions are done on a per-project basis instead of globally. For each Quarto project, you must install the extension to use it.
Select the Terminal tab in RStudio’s lower left corner.
To install the Quarto extension, type in Terminal:
quarto add coatless/quarto-webr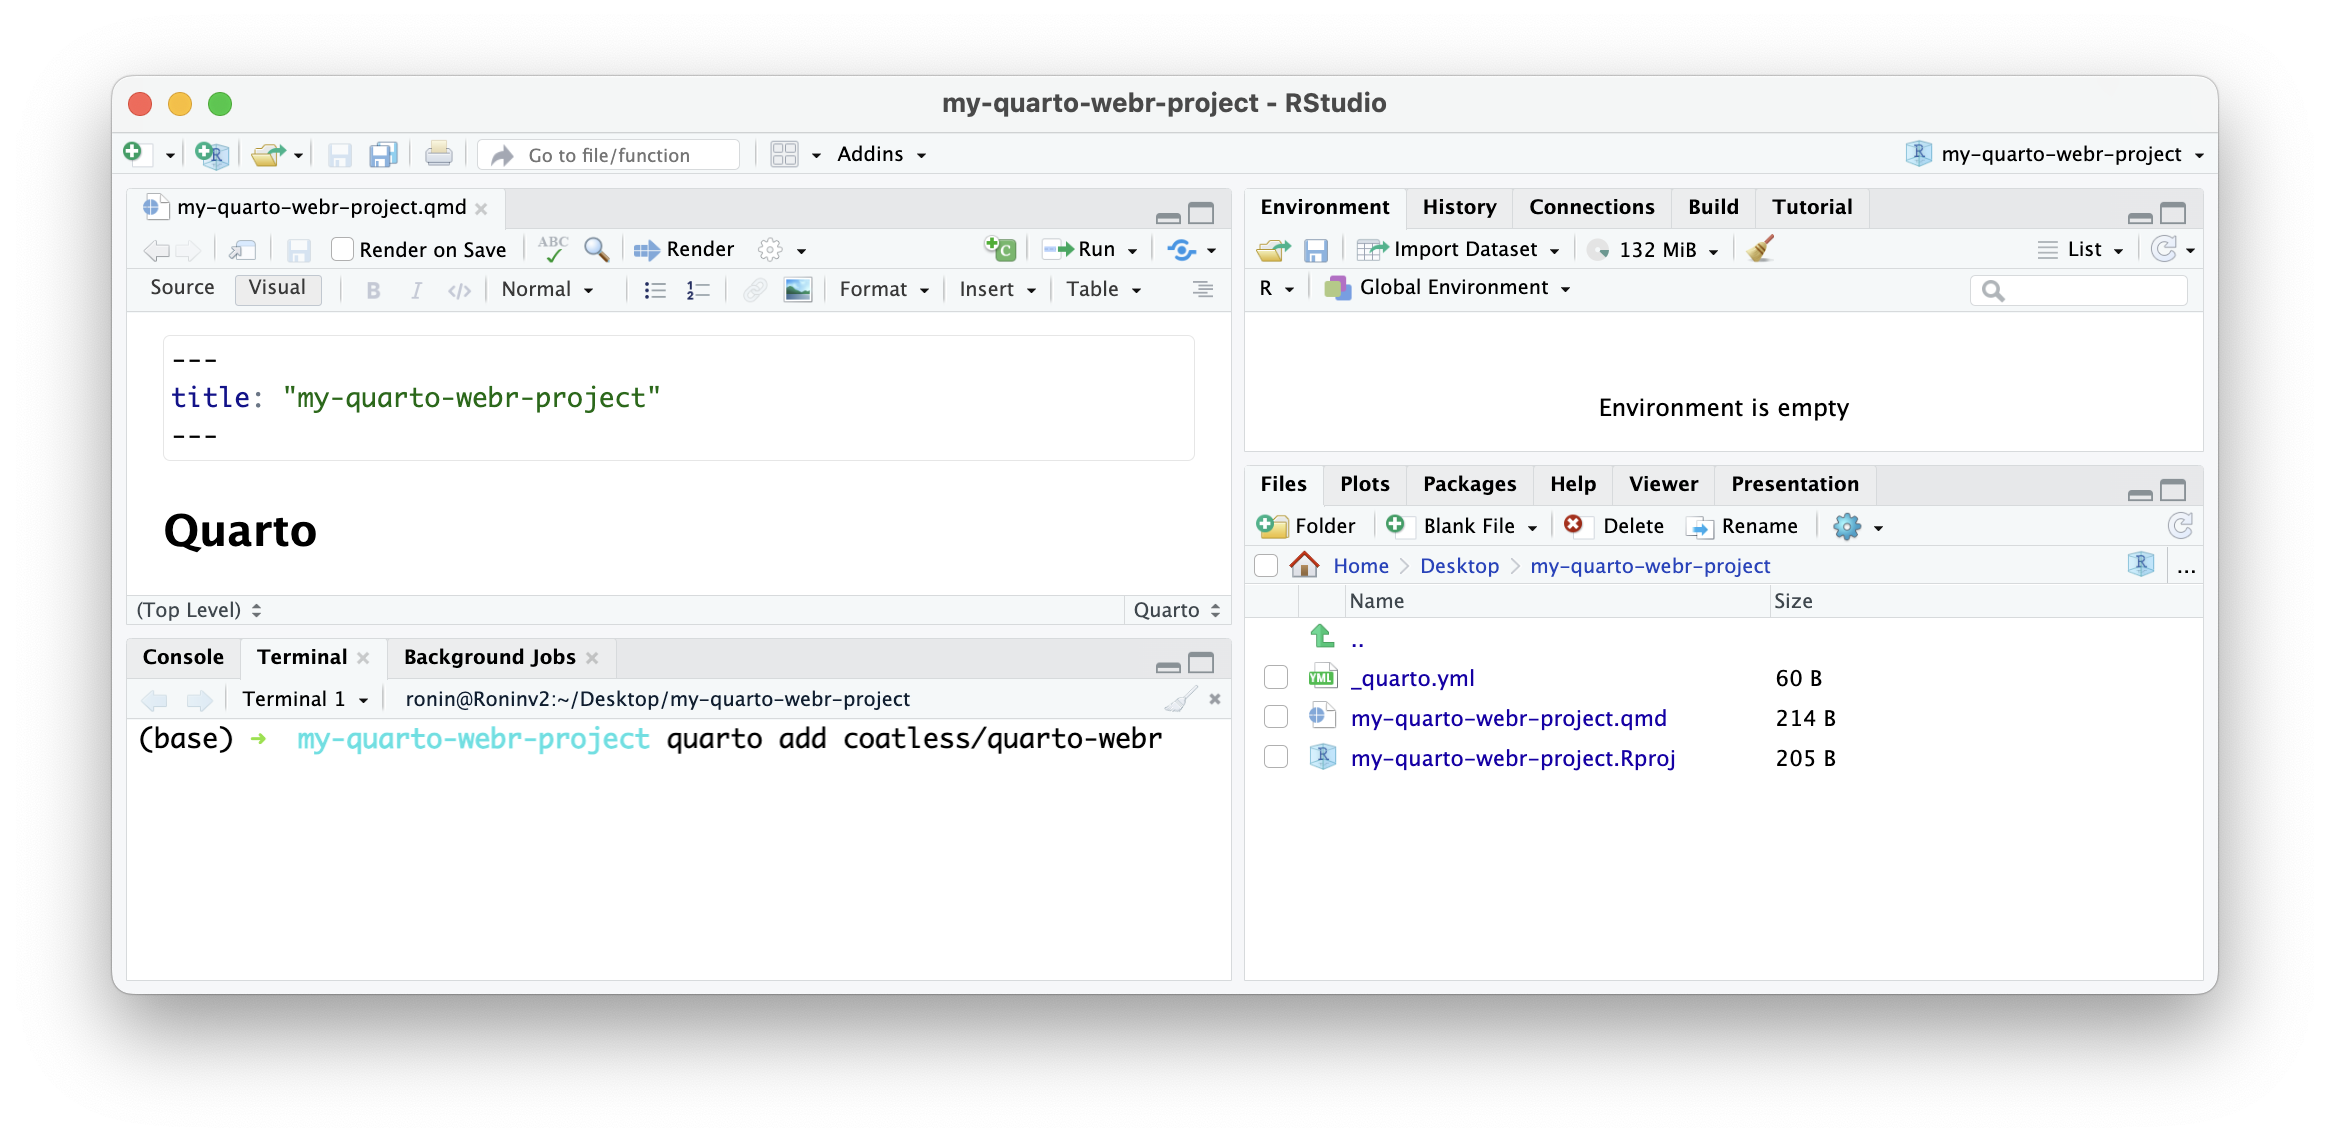
- Answer Yes to the following prompts:
- Do you trust the authors of this extension (Y/n)
- Would you like to continue (Y/n)
- Answer No to the following prompt:
- View documentation using default browser? (Y/n)
You can view the quarto-webr documentation on: https://quarto-webr.thecoatlessprofessor.com
- In the Files panel on the lower right, there should be a new directory called
_extensions.
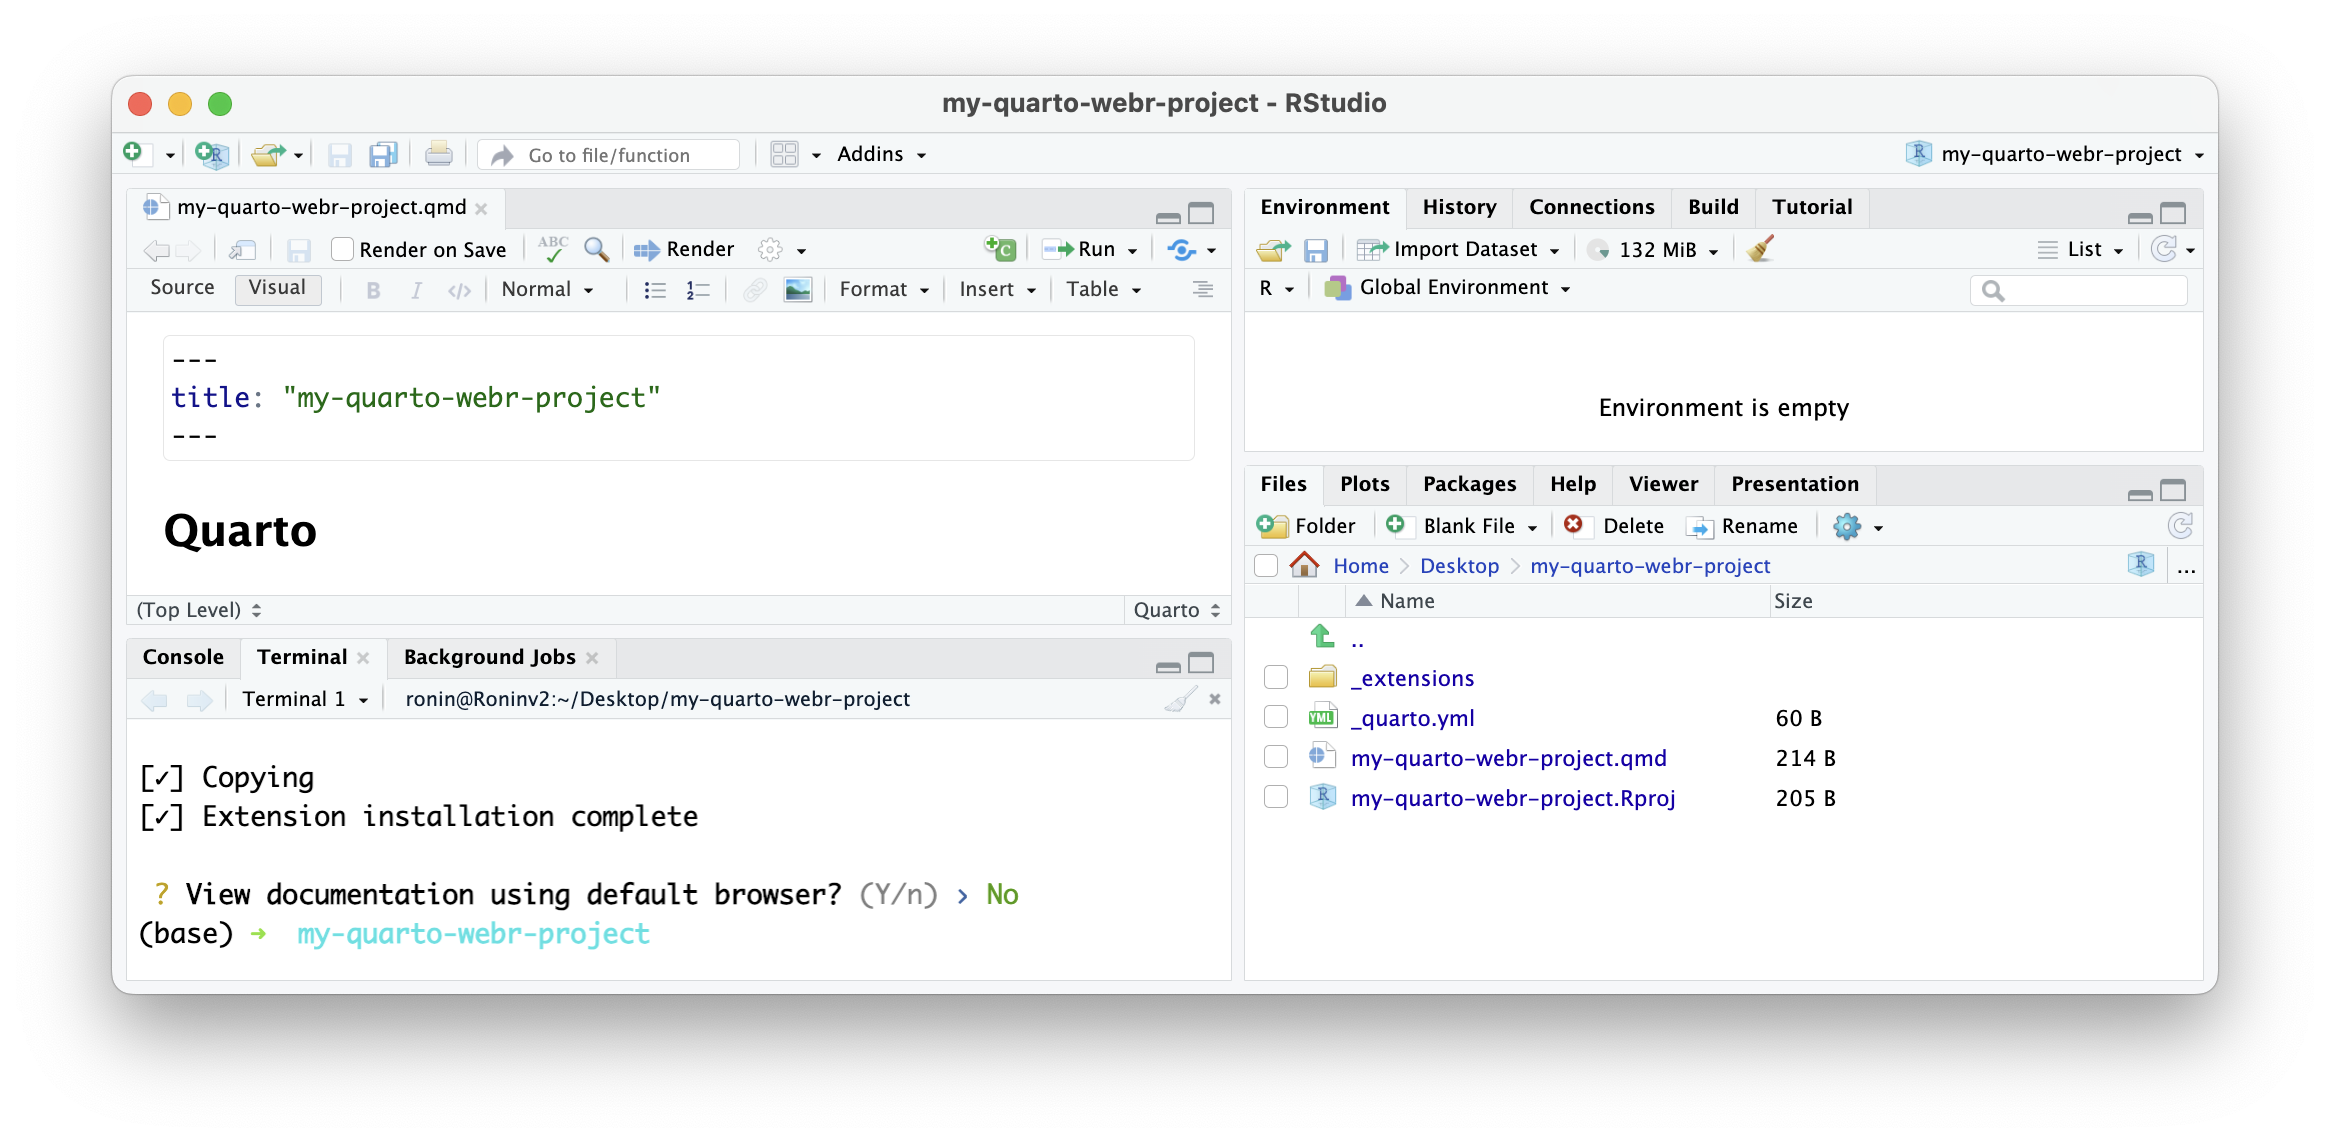
By default, Quarto installs extensions into the _extensions folder using the name or organization where the extension can be found followed by the name of the repository. In the case of the quarto-webr extension, this is _extensions/coatless/quarto-webr.
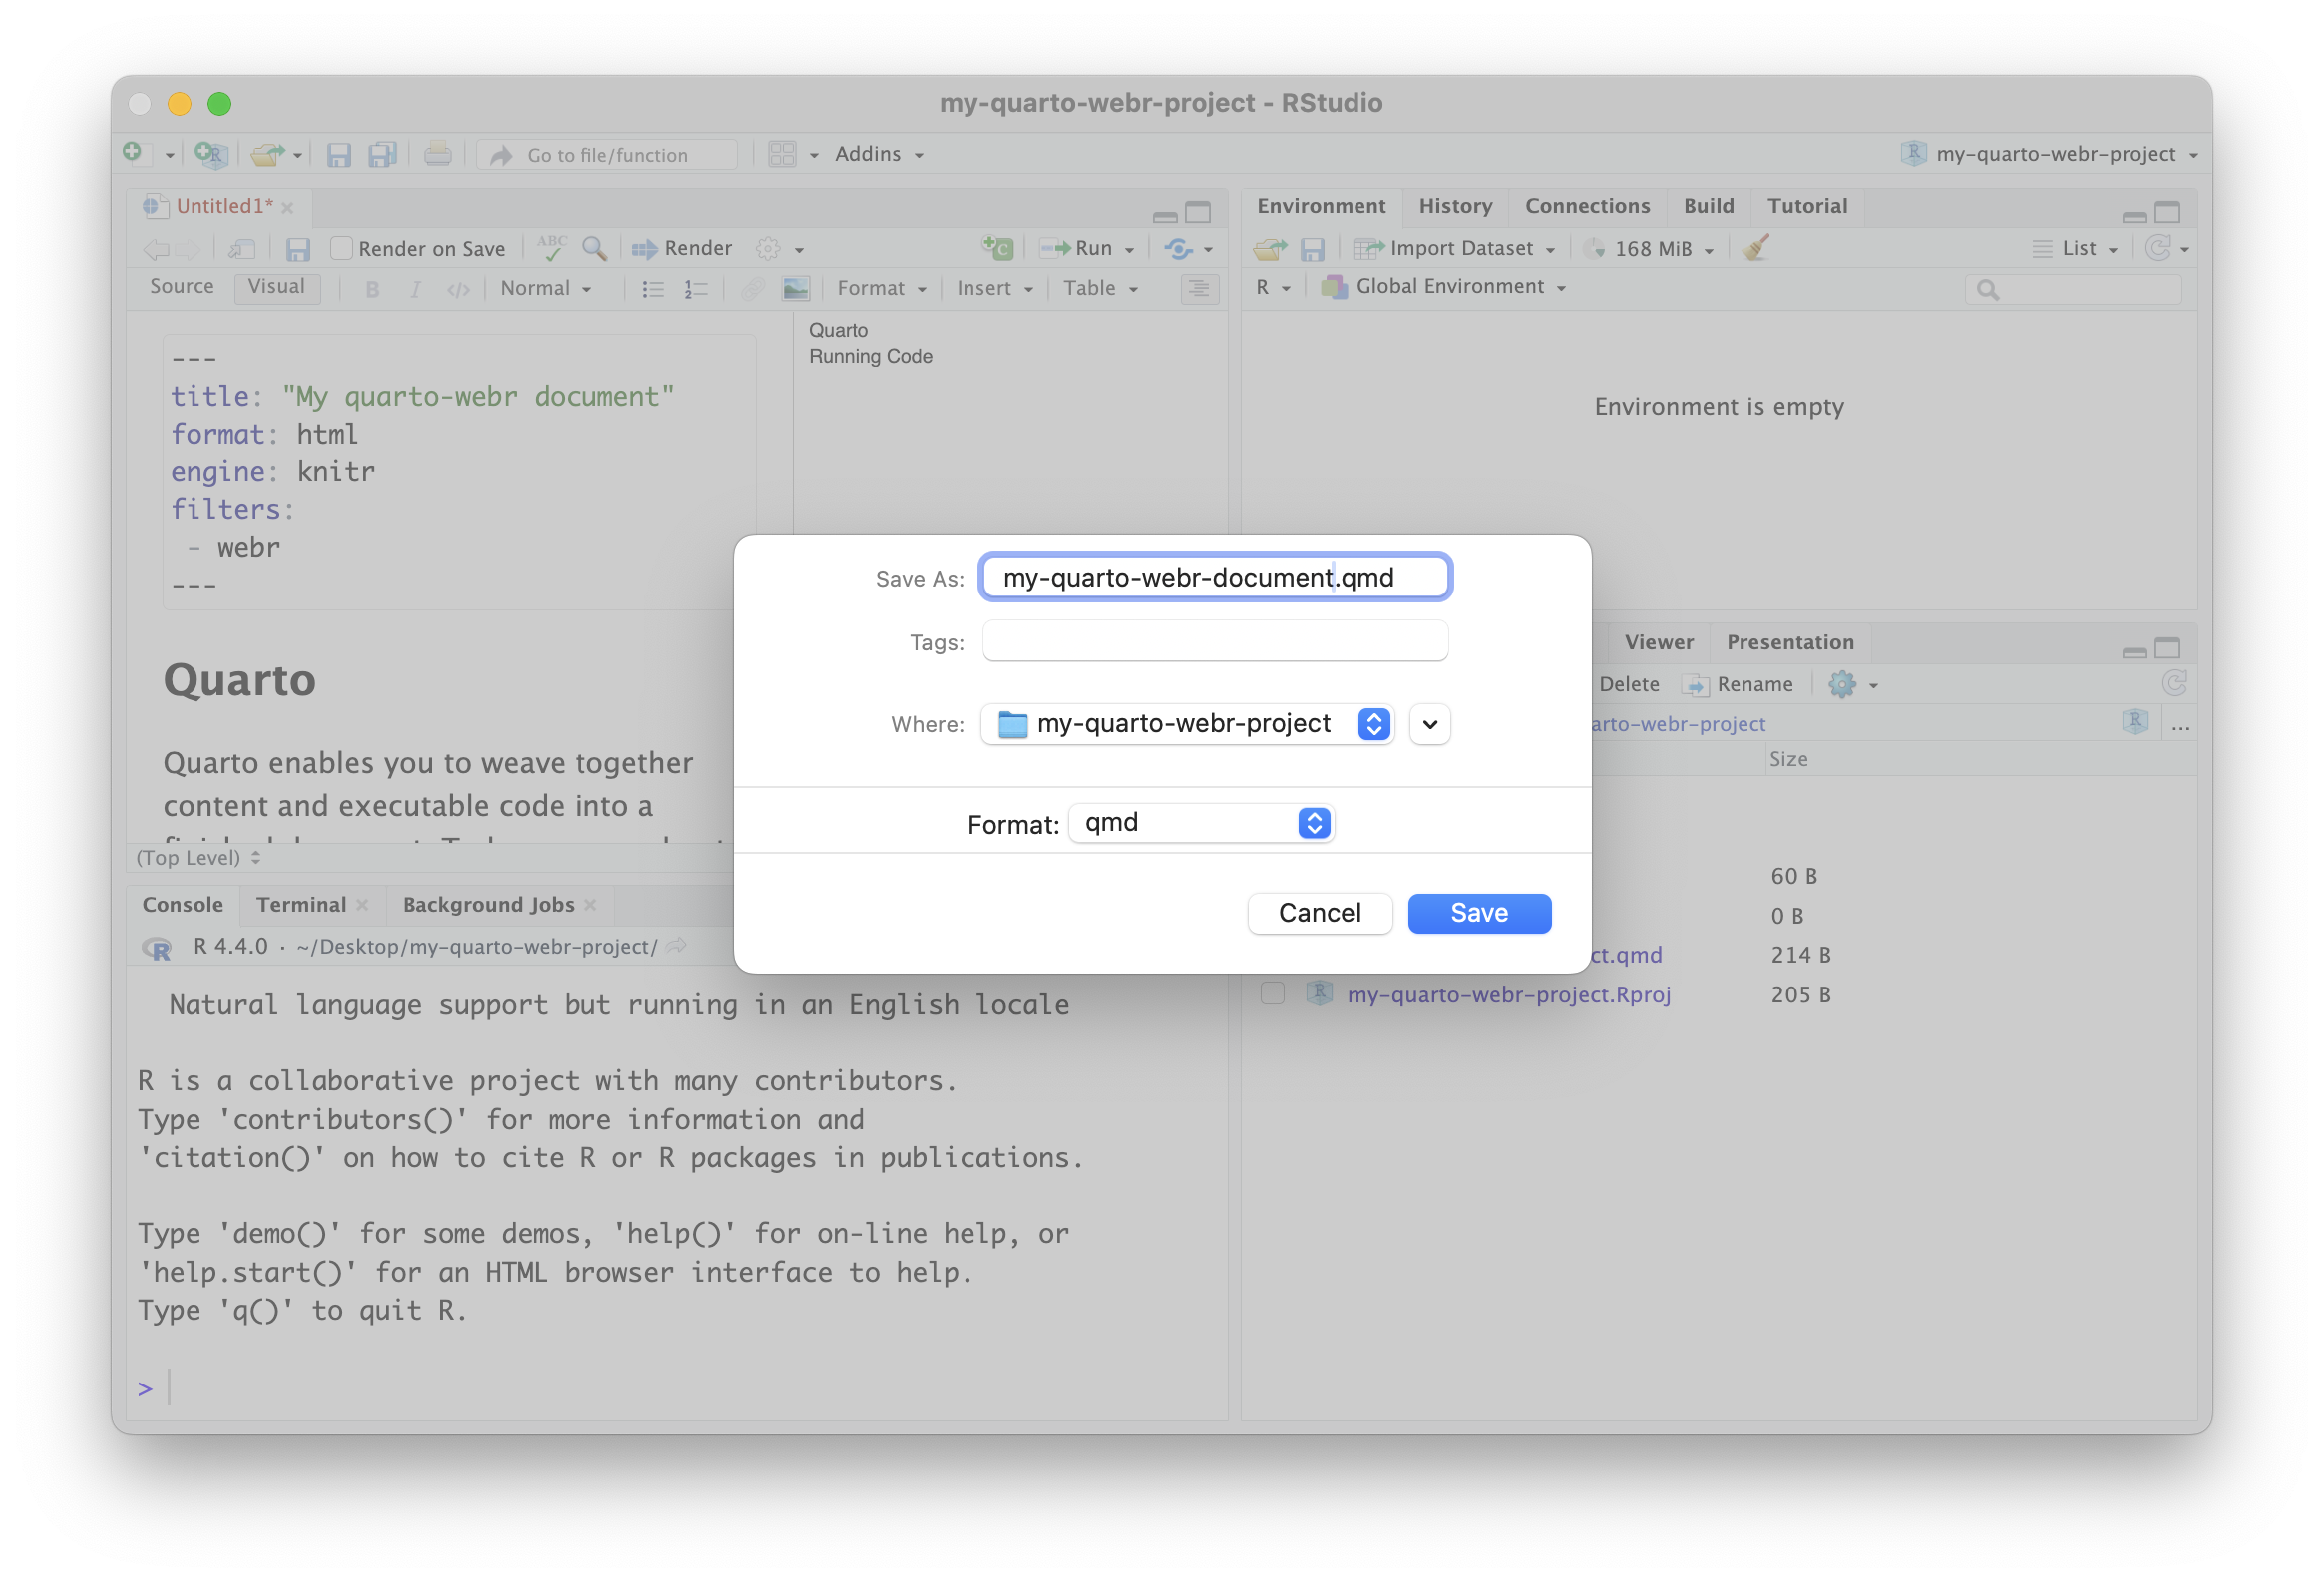
- Create a new Quarto document called:
my-quarto-webr-document.qmd- In RStudio, click File > New File > Quarto Document
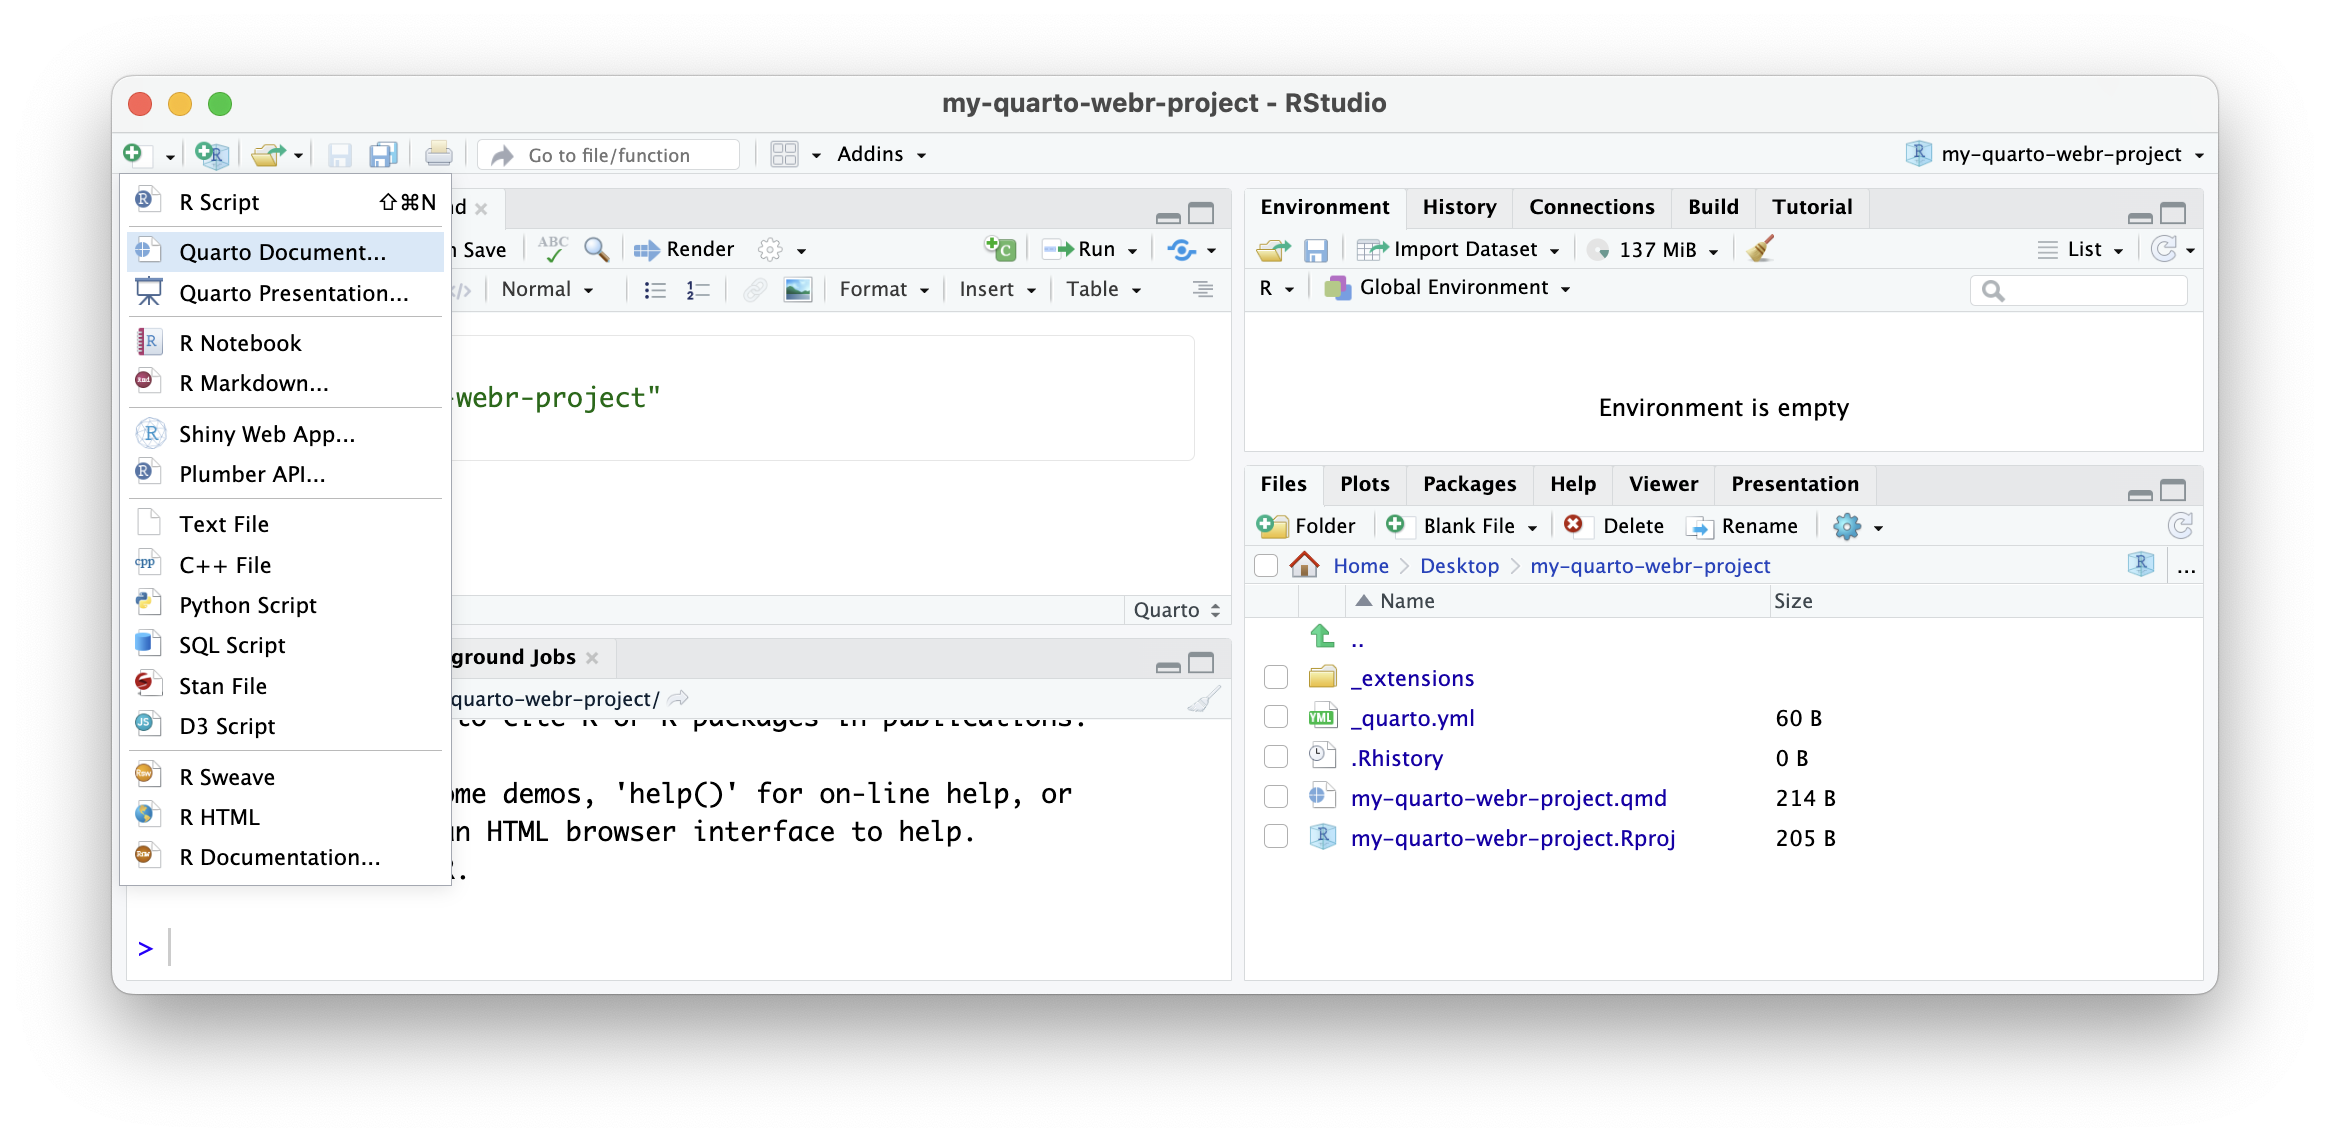
- For the title, fill in:
My quarto-webr document. - For the author field, fill in your own name!
- Press Create
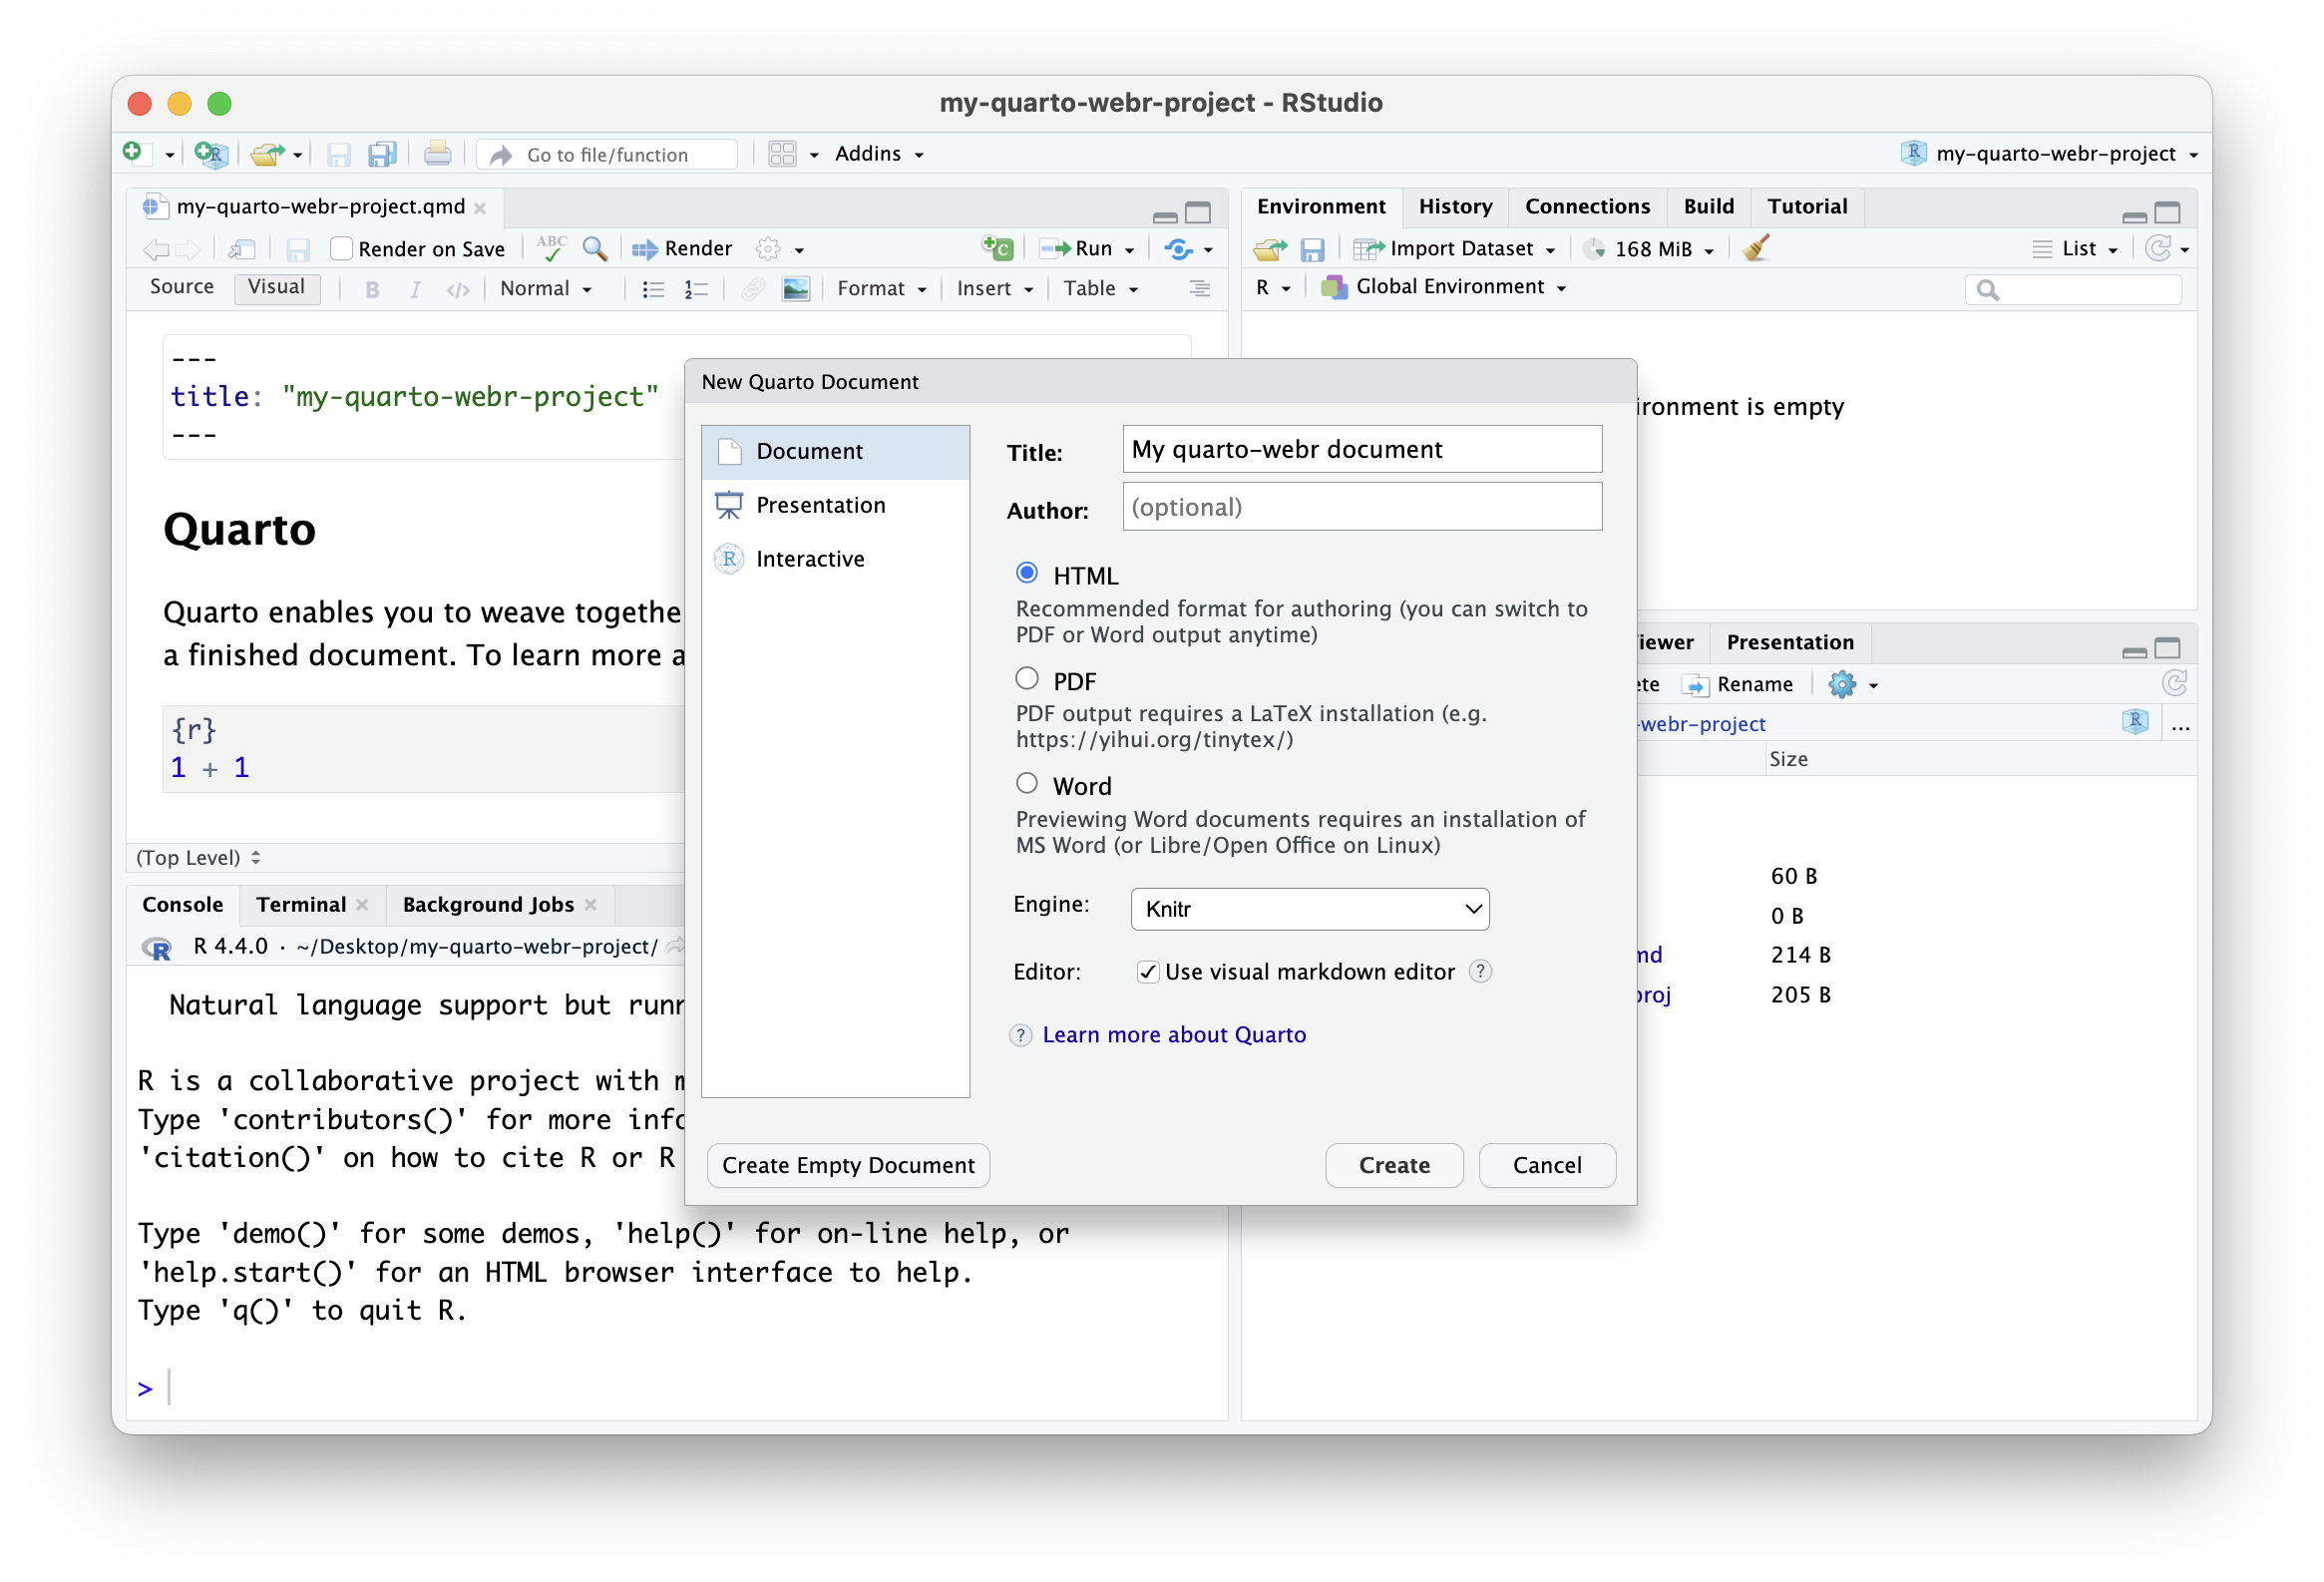
- Optional:
- You may wish to select Create empty document instead of Create to avoid having filler content.
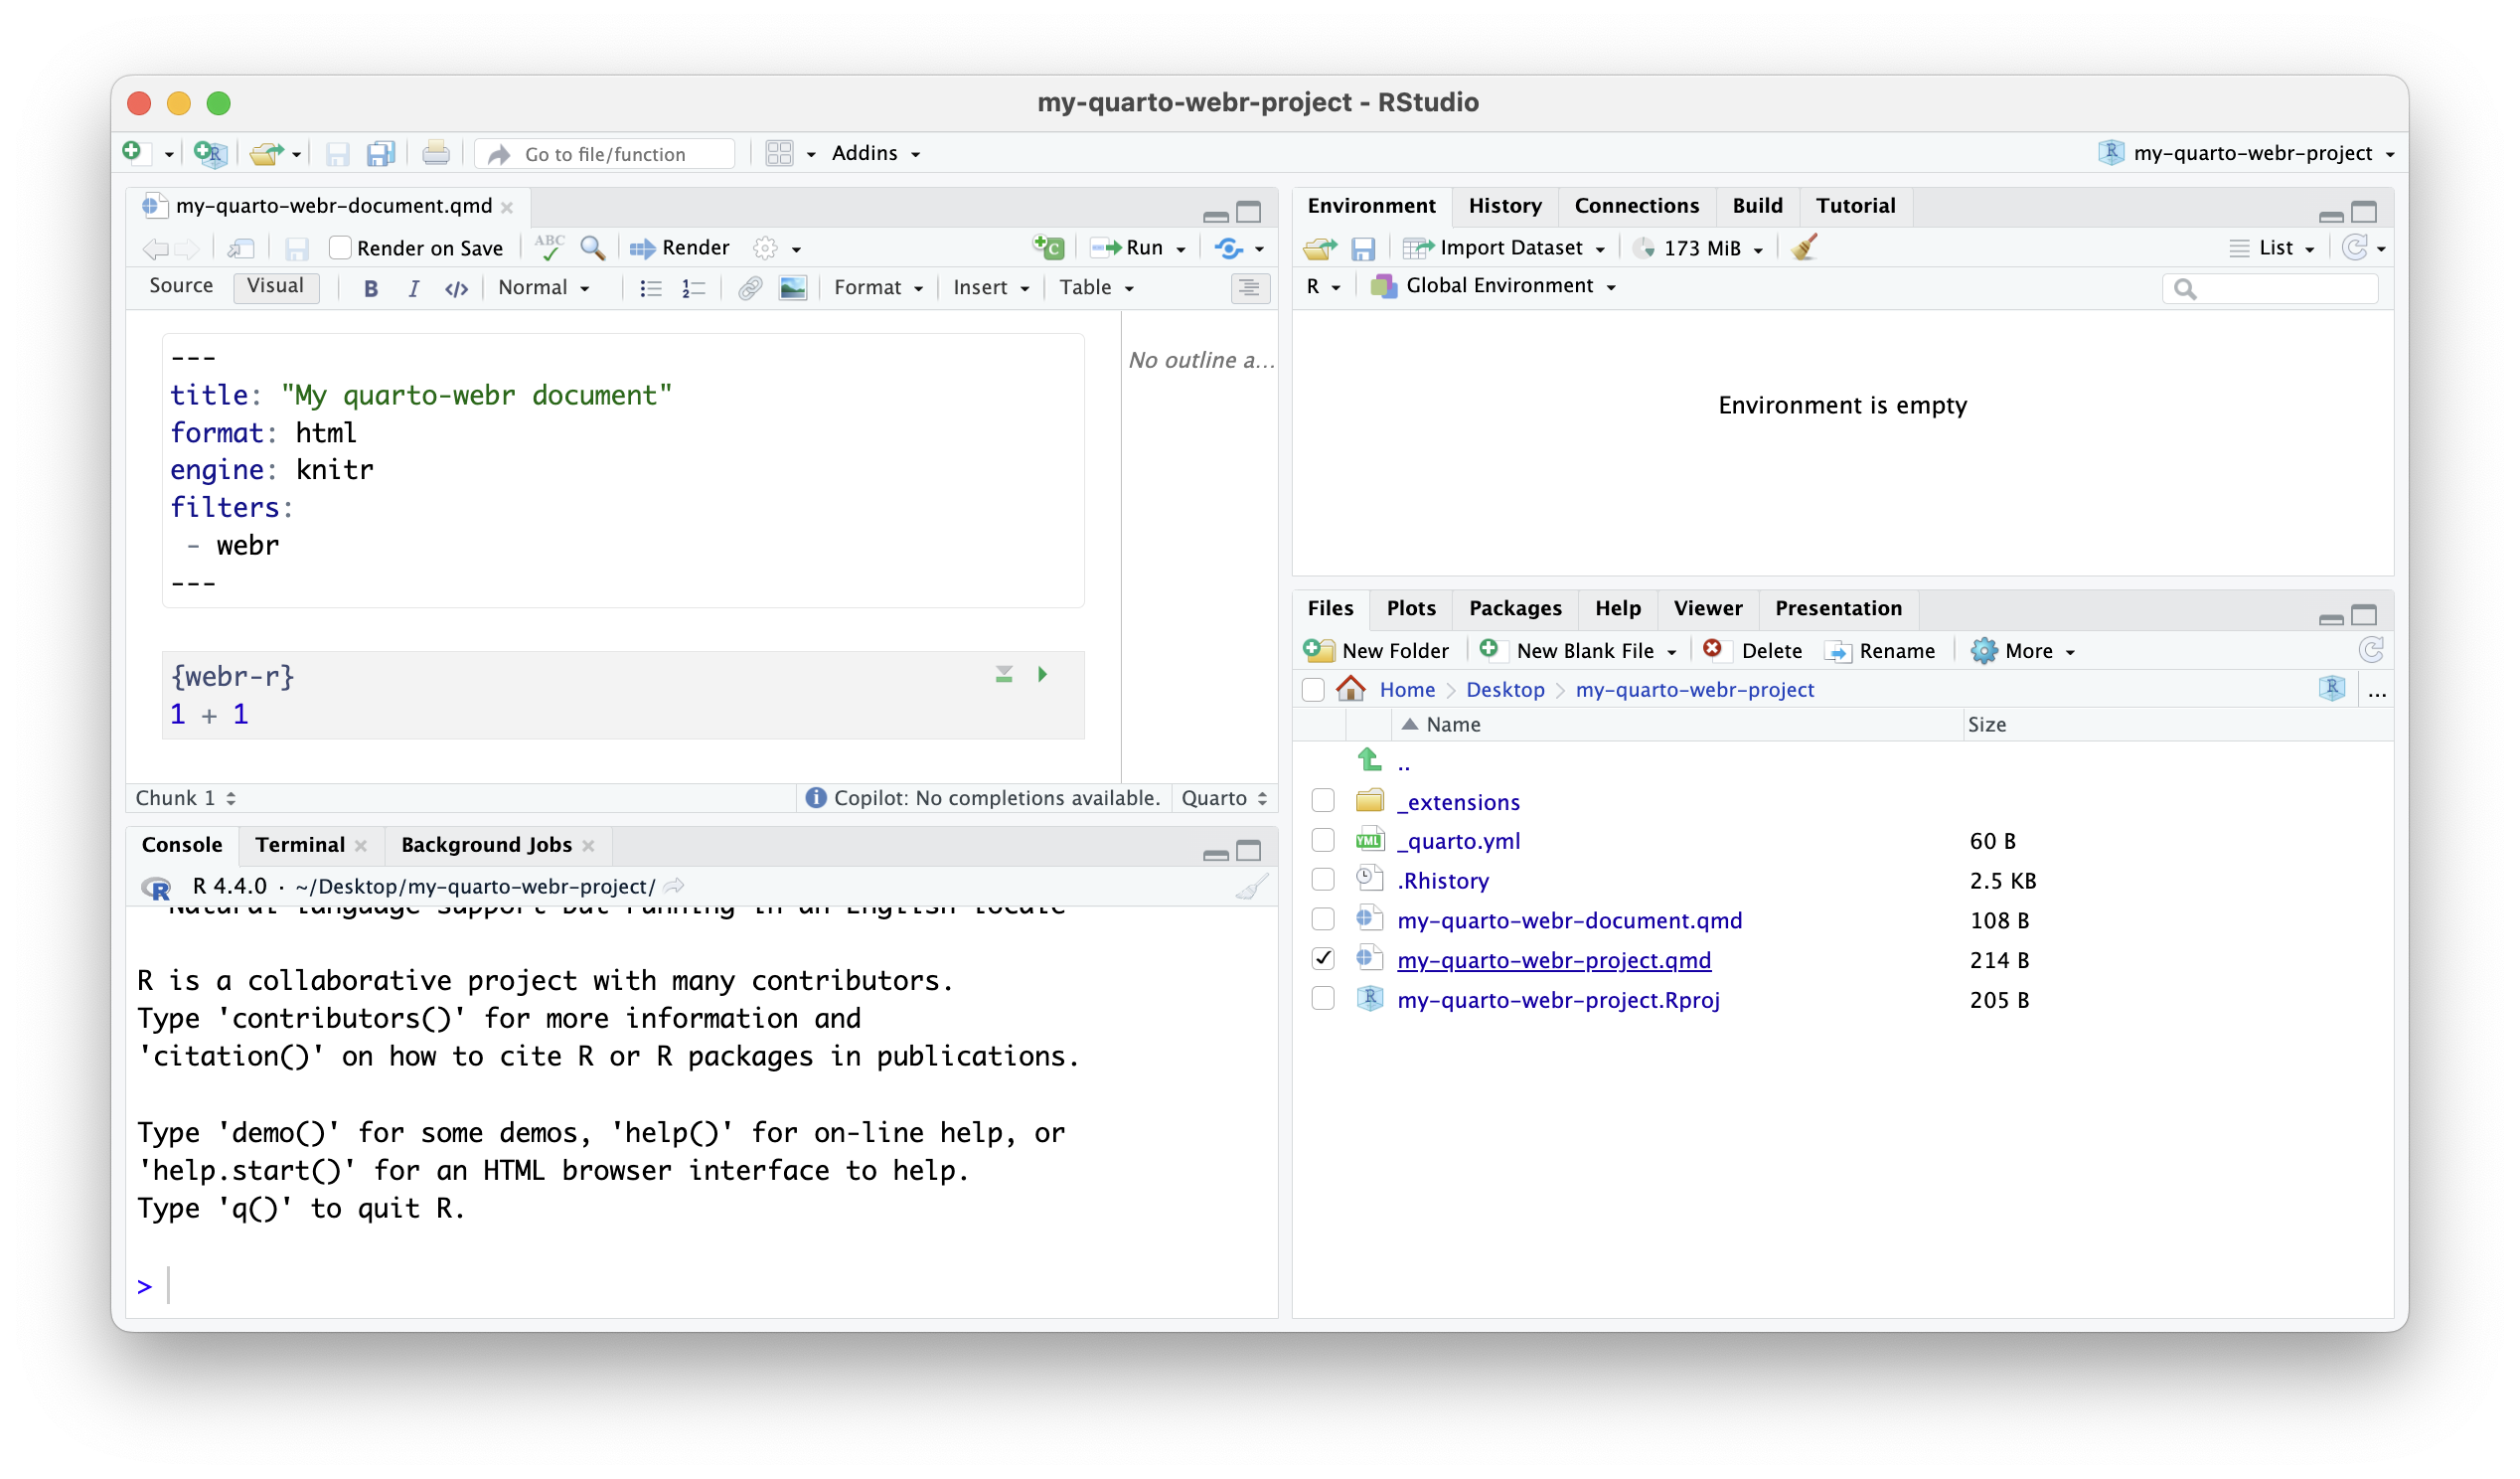
- Inside of the YAML header add the following:
title: "My quarto-webr document" format: html engine: knitr filters: - webr- Next, add your first interactive R code cell using:
```{webr-r} # Your R code here ```- Consider writing some additional prose you may want to describe what’s happening in the code cell or adding more code cells.
- You may also want to explore some of the Code Cell Options or try to incorporate some of the Feature Demos.
- Save the file by pressing the floppy drive or using CNTRL + S (Windows) or CMD + S (macOS).
- In RStudio, click File > New File > Quarto Document
- Render the
my-quarto-webr-document.qmdfile by pressing the “Render” button.
If your document file does not render, please let us know!
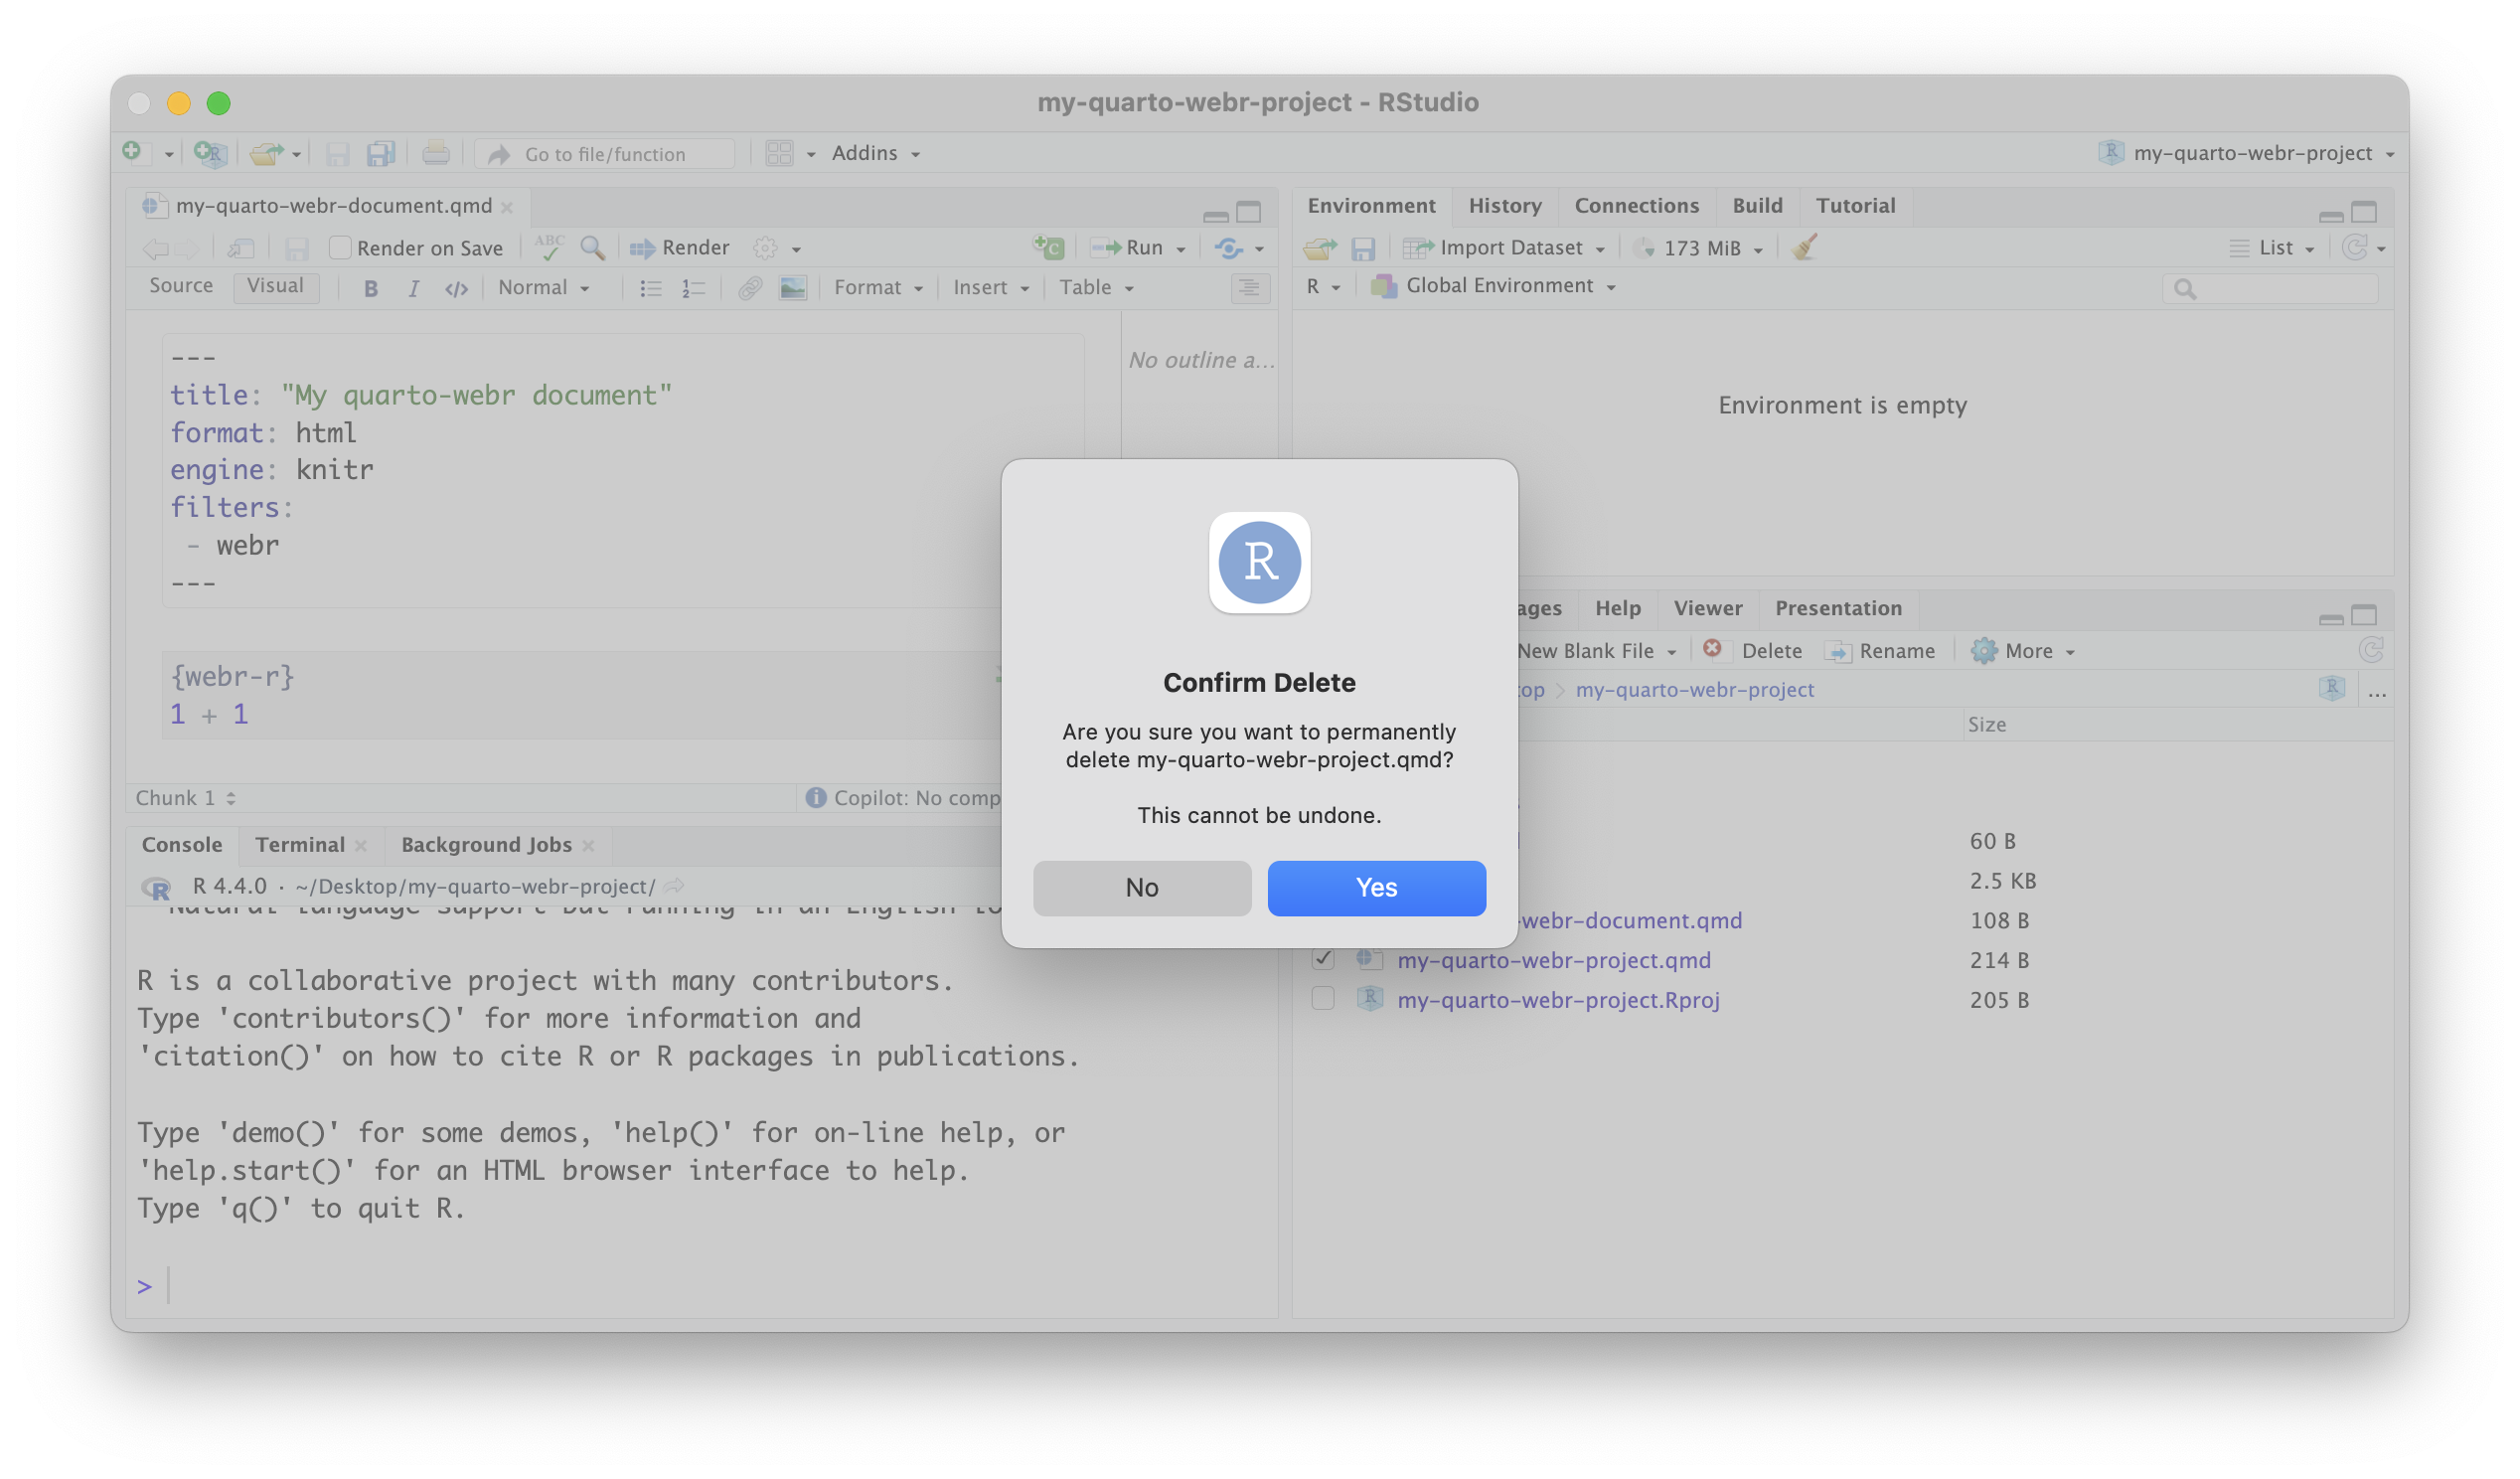
Delete the placeholder document.
- In the Files panel on the lower right, find the
my-quarto-webr-project.qmd - Press the checkbox to the left of the file to select it.
- In the Files panel menu bar, press the Delete button.
- Press Yes on the pop up to confirm deletion of the file.
- In the Files panel on the lower right, find the
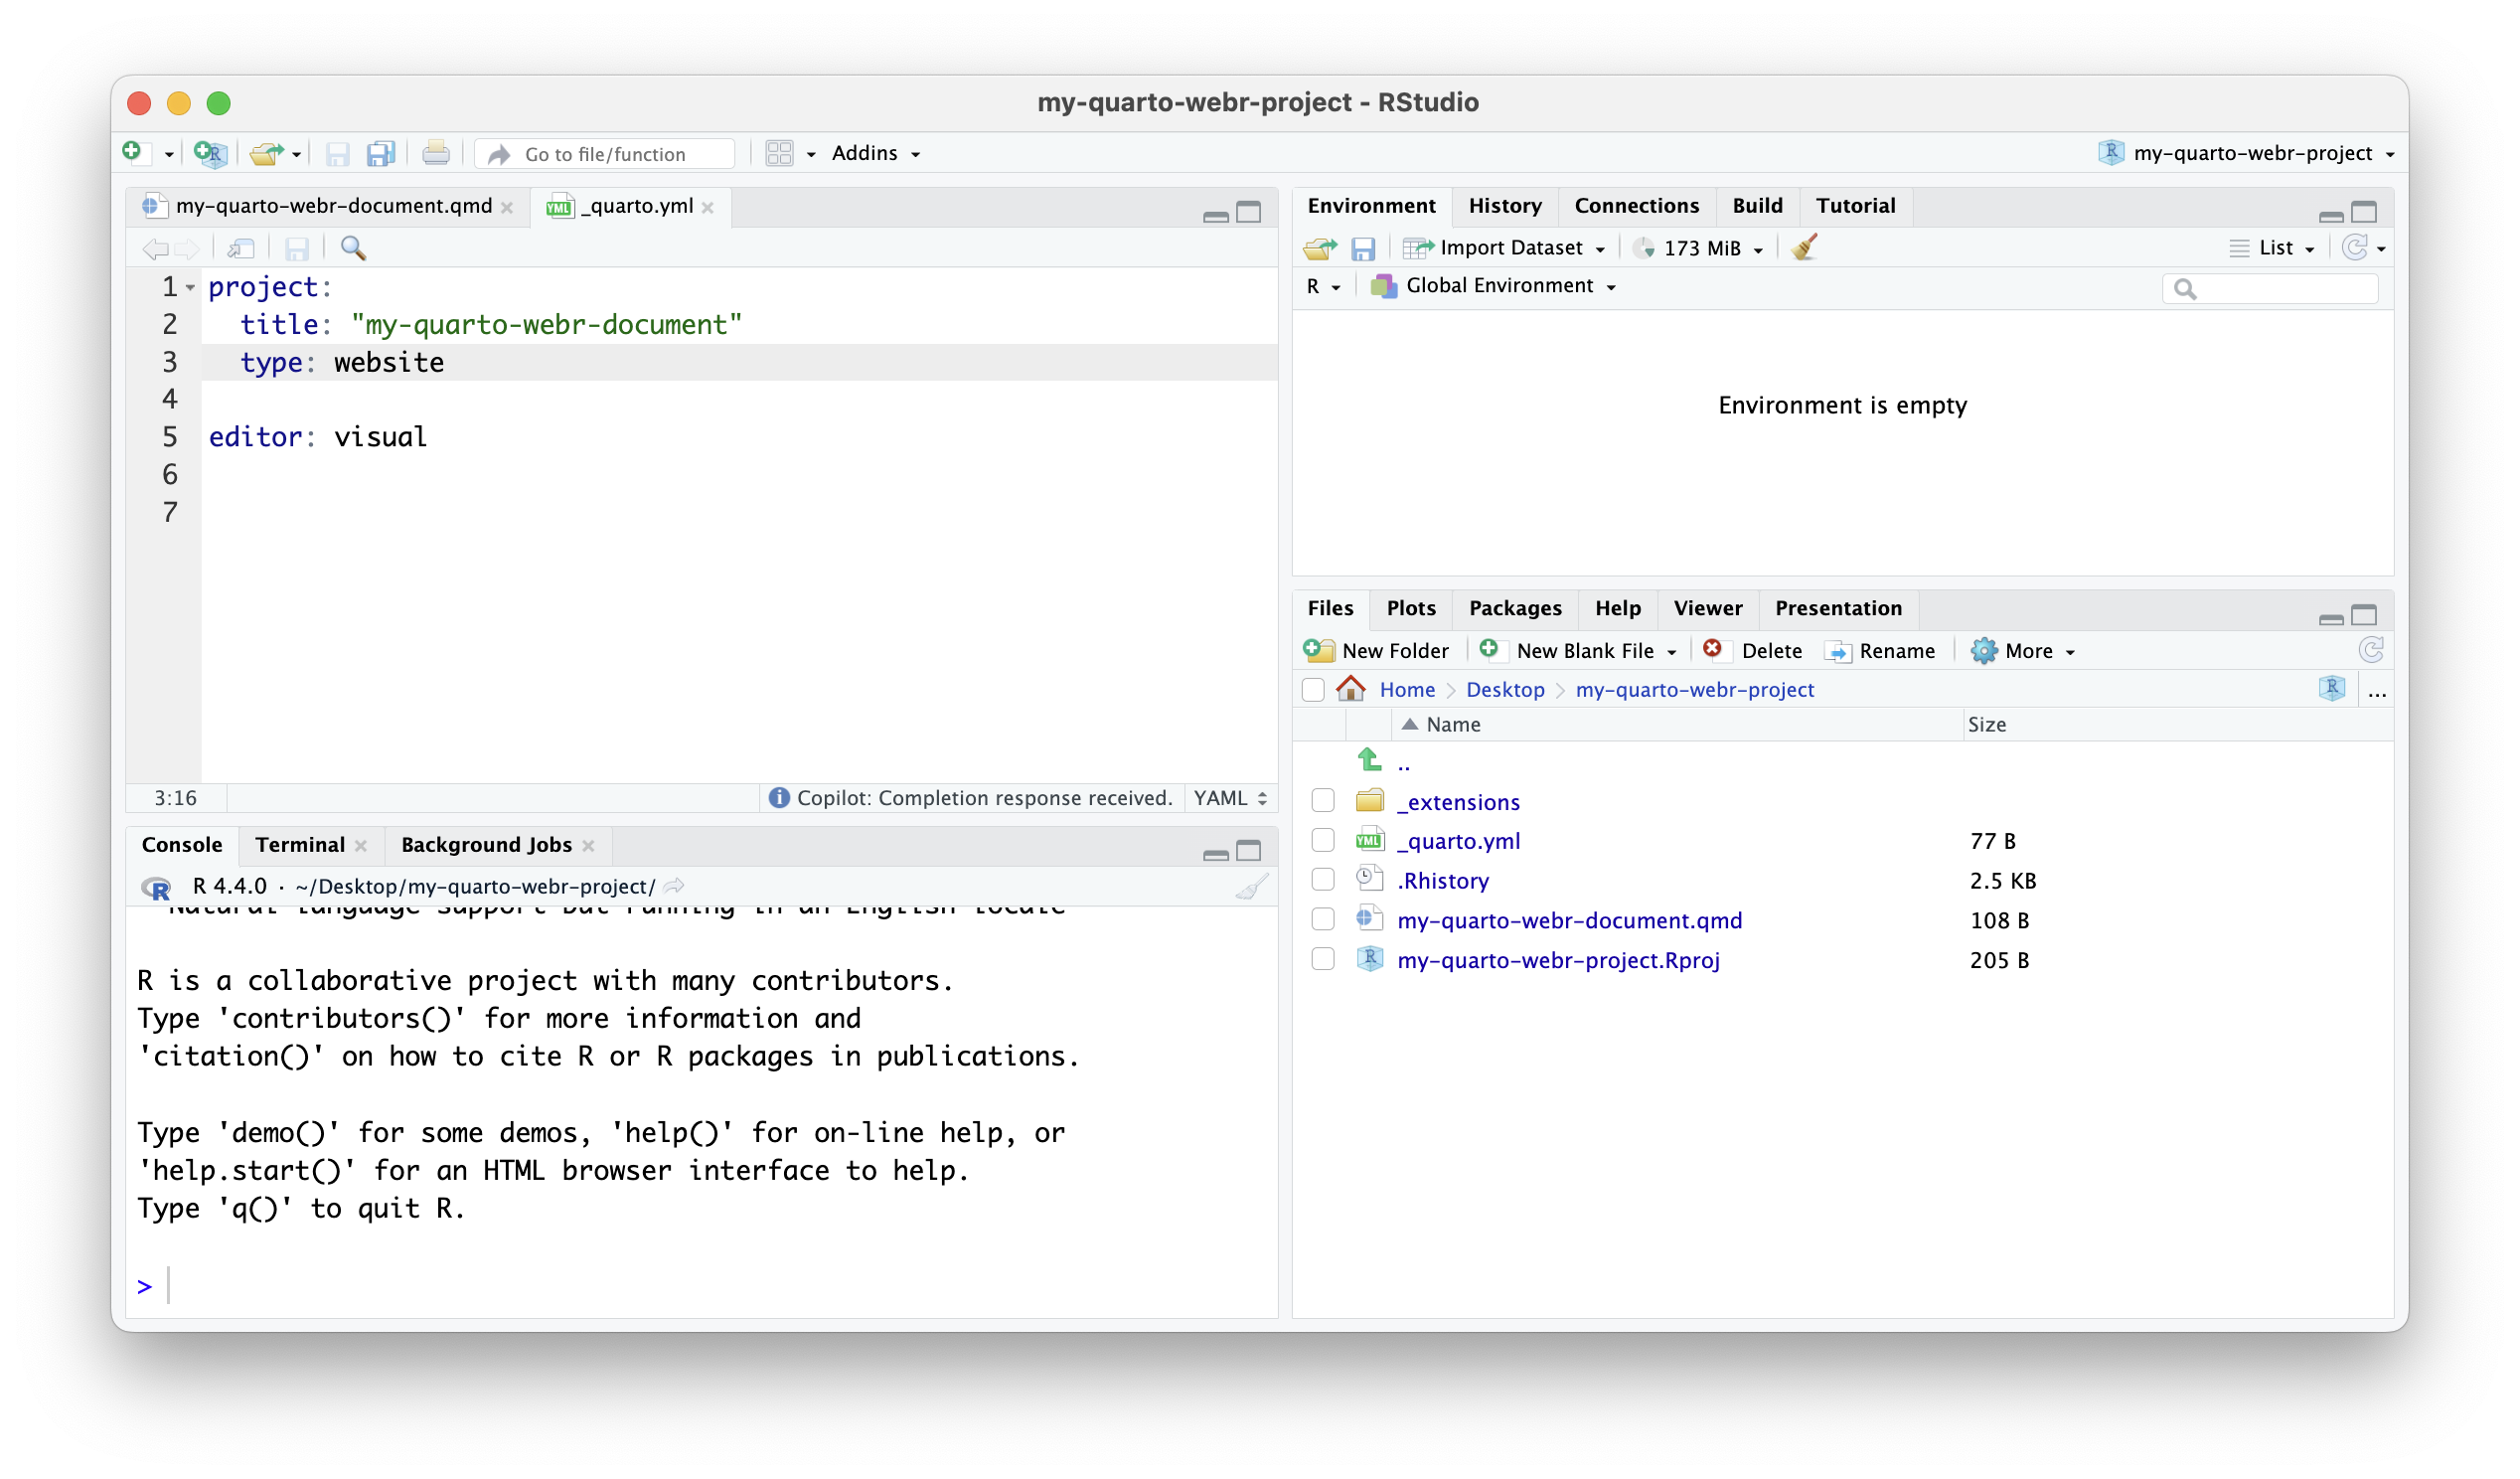
Modify the
_quarto.ymlfile.- In the Files panel on the lower right, find the
_quarto.ymland double click on it. - Change the title field to:
title: "my-quarto-webr-document" - Add underneath
titlethe following entry:type: website- Make sure to indent the line by 2 spaces to match the prior entry.
- In the Files panel on the lower right, find the
Create a Quarto Pub account here.
- Quarto Pub is a document platform that allows you to securely create and publish Quarto documents to the web.
- You can view Quarto Pub as the successor to RPubs.
Upload the website to Quarto Pub
Documentation on publishing Quarto websites to Quarto Pub can be viewed here.
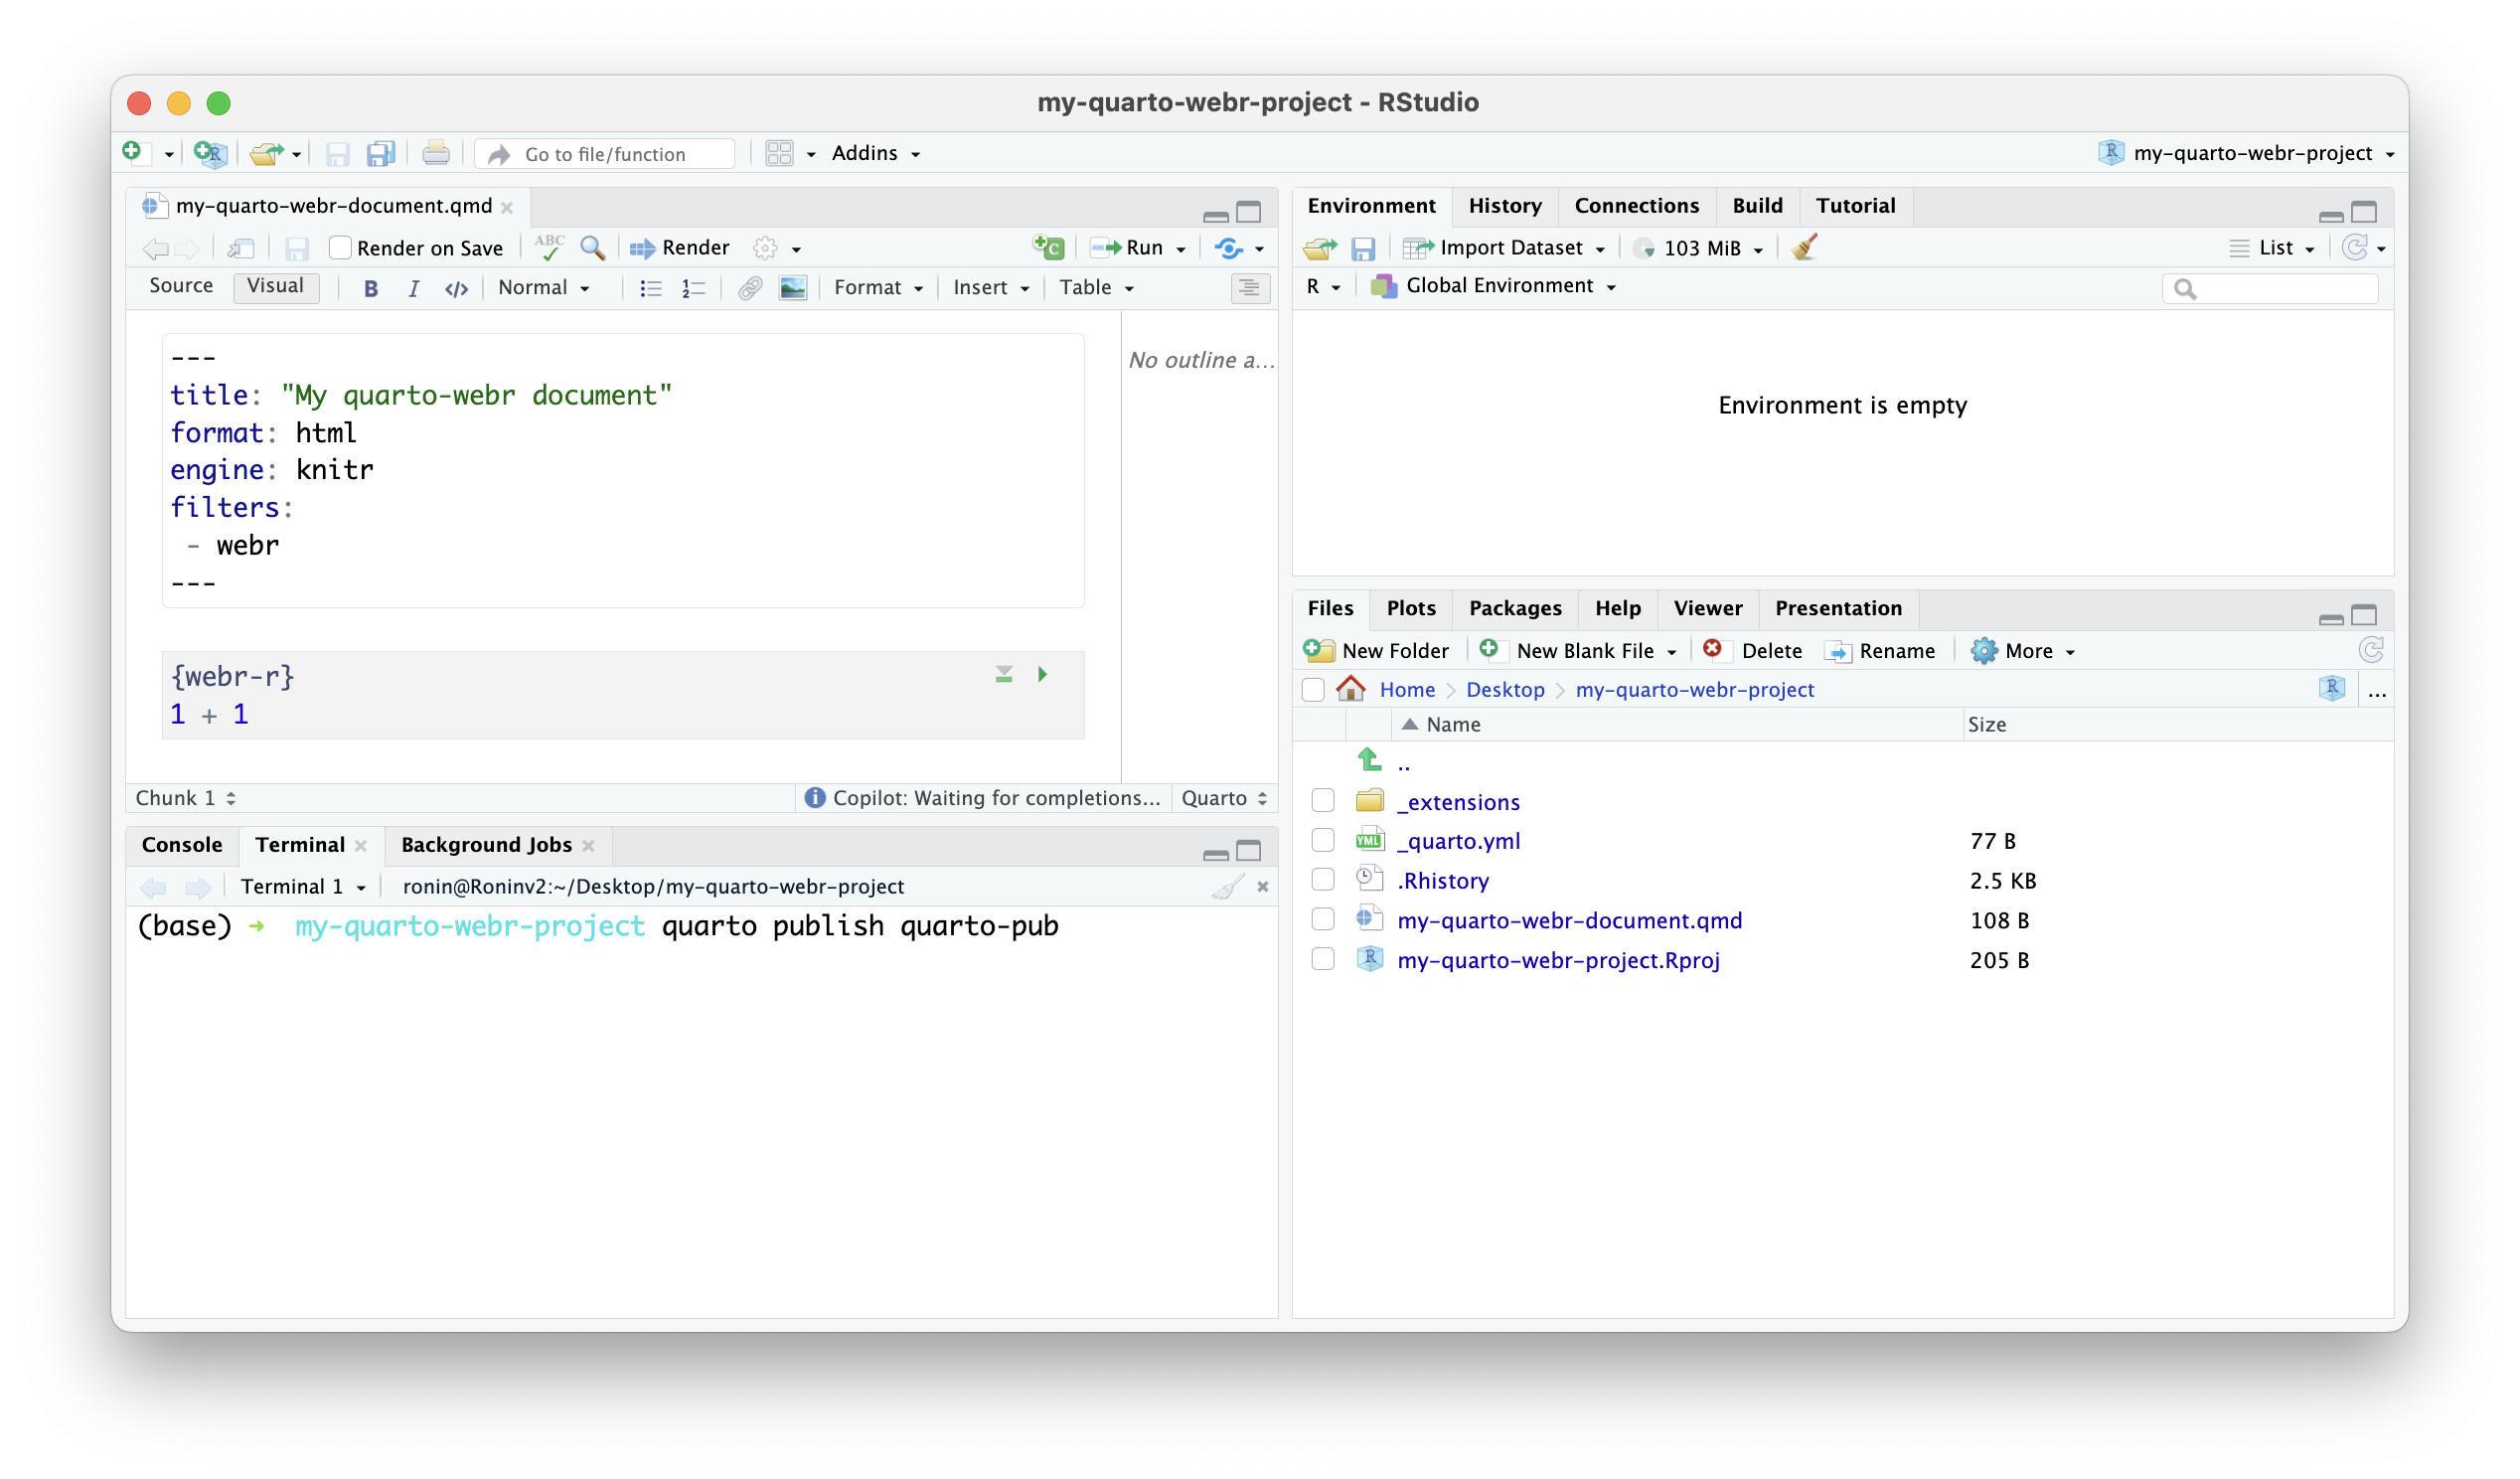
- Publish the
my-quarto-webr-document.qmdfile on Quarto Pub by running in the Terminal tab of RStudio:
quarto publish quarto-pubAs you likely have never published to Quarto Pub before, the publish command will first prompt you to authenticate using the credentials setup in the prior step. After login in, you will be asked to confirm that you want to publish.
- Once published, you should have a browser window open with the desired content.